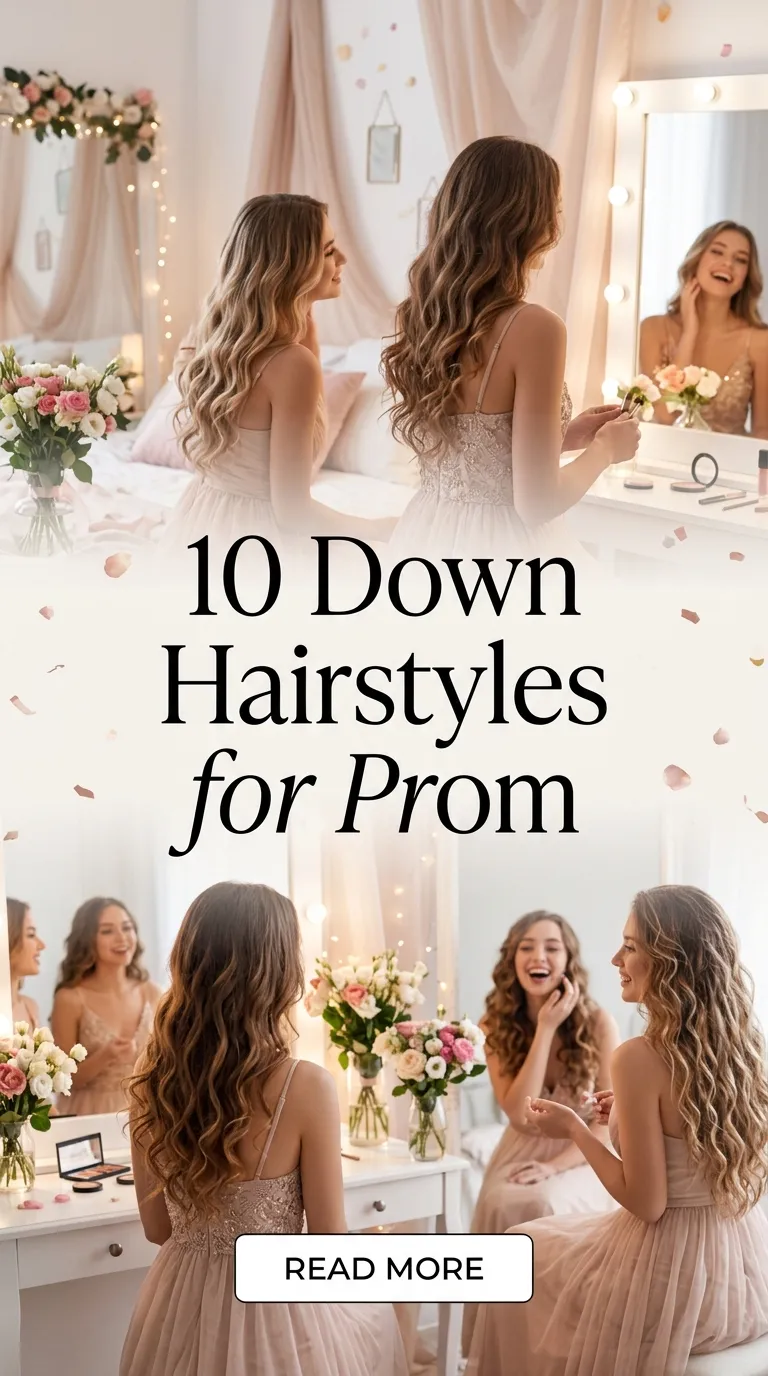
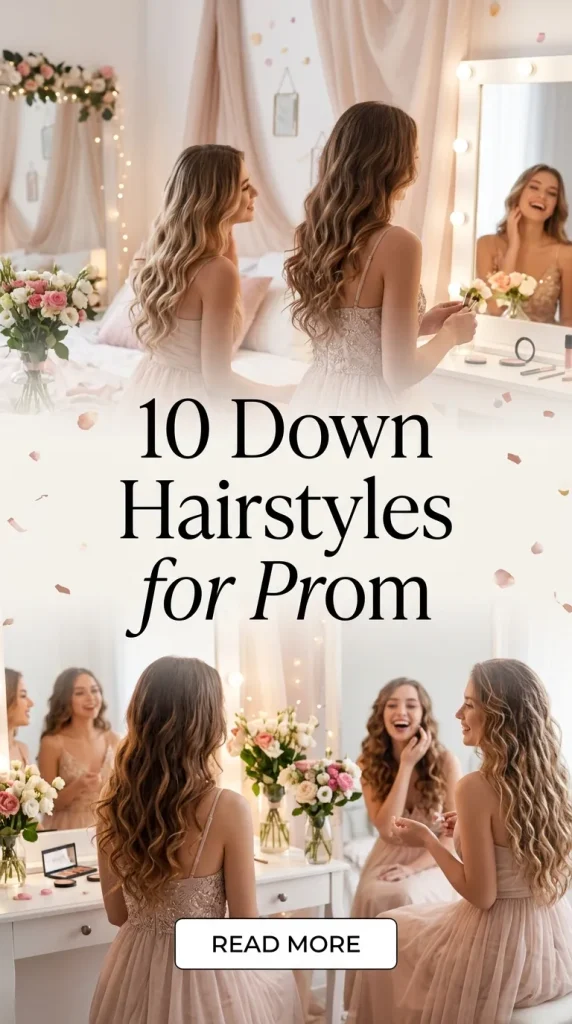
10 Down Hairstyles for Prom
Introduction
Prom is a formal event where appearance, styling, and coordination play an important role in overall presentation. Among various styling choices, down hairstyles remain one of the most searched Pinterest ideas due to their versatility and adaptability. These hairstyles allow natural hair texture, length, and volume to become part of the final look while still offering structure and elegance. From soft waves to sleek straight finishes, down hairstyles can suit different dress styles, face shapes, and hair types without requiring complex techniques. This article explains ten distinct down hairstyles for prom with clear guidance, step by step methods, and practical preparation details. Readers will learn how to select appropriate styles, prepare materials, and execute each look effectively at home. The focus remains on DIY methods that are beginner friendly while still achieving polished results. Each hairstyle is designed to be realistic and accessible, using standard tools and materials. The goal is to provide clear, structured inspiration that can be applied directly, helping readers create a complete prom-ready look through careful planning and simple execution.
Why This Idea Is Trending or Useful
Down hairstyles are trending in modern Pinterest inspiration because they balance elegance with simplicity. Unlike complex updos, these styles require fewer tools and less technical skill, making them accessible for beginners and suitable for last-minute preparation. Many users prefer these looks because they highlight natural hair texture, whether straight, wavy, or curly, while still maintaining a formal appearance. From a practical perspective, down hairstyles reduce preparation time and minimize the need for professional styling services, which aligns with budget ideas and DIY approaches. They also allow flexibility in styling, meaning small adjustments can be made easily without restarting the entire look. In terms of design relevance, these hairstyles pair well with different dress types, including strapless, off-shoulder, and high-neck designs, making them adaptable across various prom themes. The aesthetic appeal is another factor, as soft, flowing hair often complements makeup and accessories without overpowering them. This combination of ease, flexibility, and visual balance makes down hairstyles a consistent and reliable choice for formal events.
Materials and Preparation
Preparing for a down hairstyle requires organized planning and the correct set of materials. Basic tools include a hairbrush, fine-tooth comb, sectioning clips, heat styling tools such as a curling iron or straightener, and a blow dryer if needed. Essential materials include heat protectant spray, lightweight styling mousse or serum, hairspray for hold, and optional accessories like pins or decorative clips. Preparation begins with clean, dry hair, as this provides a stable base for styling. Applying a heat protectant is necessary before using any heated tools to prevent damage. For styles requiring volume, a small amount of mousse can be applied at the roots, followed by blow drying. Sectioning the hair into manageable parts helps maintain consistency and improves control during styling. It is important to plan the final look in advance, including parting style, volume placement, and accessory positioning. Testing the style before the event ensures that the chosen method works with the hair type and length. Proper preparation simplifies the process and helps achieve consistent results across all steps.
Idea 1: Soft Loose Waves
How to Create
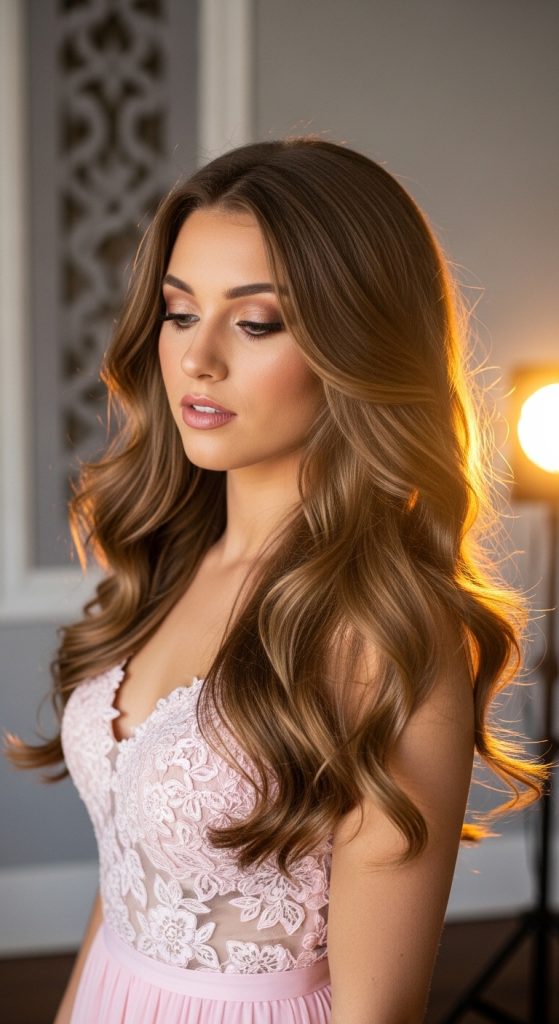
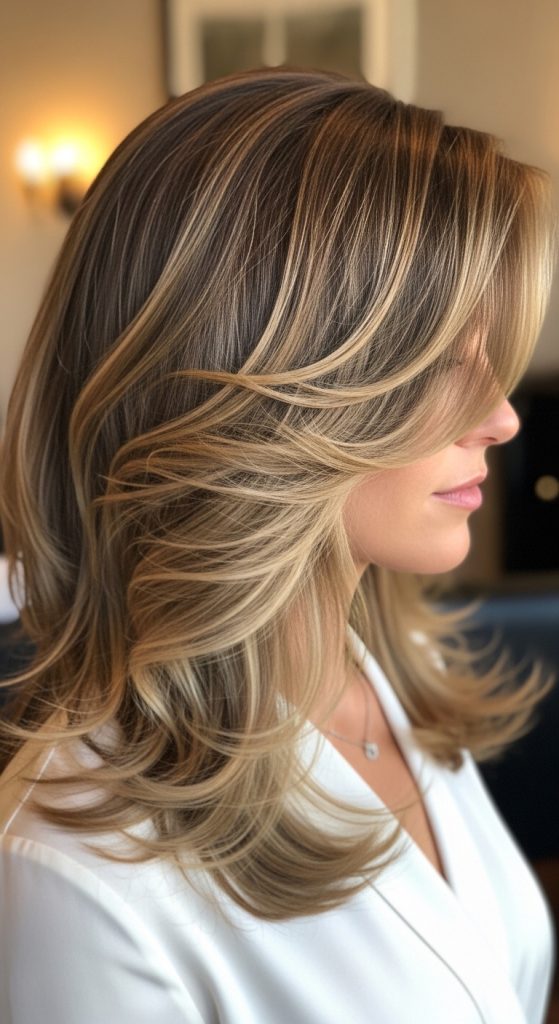
Soft loose waves create a natural, flowing look that works well with most prom outfits. This style focuses on creating gentle movement rather than tight curls, making it suitable for medium to long hair lengths. The waves add texture without making the hairstyle appear overly structured, which helps maintain a balanced and relaxed aesthetic. This approach is commonly used in modern design because it enhances natural hair patterns instead of completely altering them. The key characteristic of this style is uniform wave direction combined with a soft finish. It works effectively for both thick and fine hair by adjusting the size of the curling sections. This hairstyle fits well within minimalist style trends because it avoids excessive volume while still adding dimension. It is also a practical option for those who want a polished appearance without complex layering or pinning techniques.
To create soft loose waves, begin by dividing the hair into equal sections. Apply heat protectant evenly across all sections before styling. Use a medium-barrel curling iron and wrap each section loosely around the barrel, holding for a few seconds before releasing. Alternate the direction of curls to create a natural flow. After curling, allow the hair to cool completely before brushing through with a wide-tooth comb. This step softens the curls into waves. Apply a small amount of lightweight serum to reduce frizz and add shine. Finish with a flexible hold hairspray to maintain the shape without stiffness. This step by step process ensures consistent waves while keeping the overall appearance soft and controlled.
Idea 2: Sleek Straight Hair
How to Create
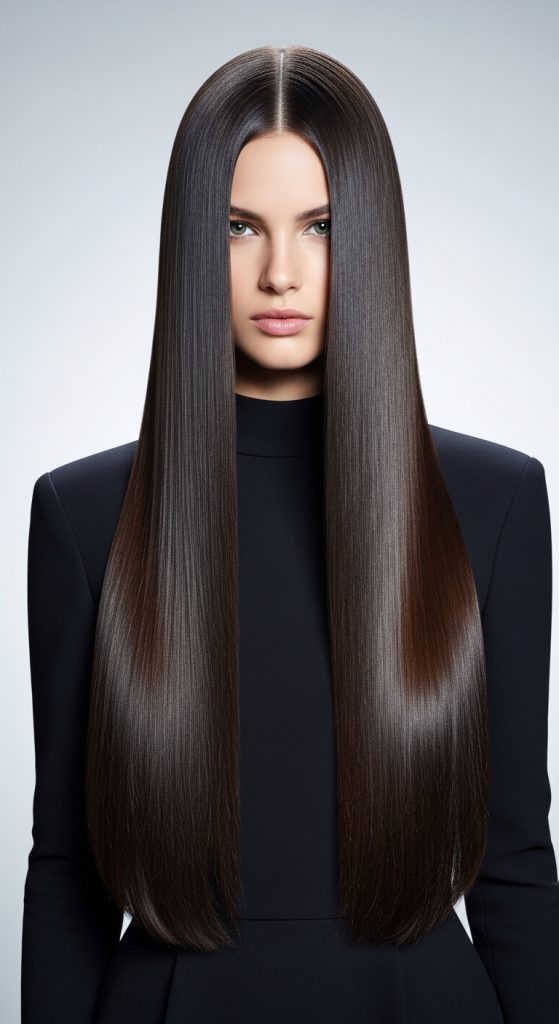
Sleek straight hair is a structured and polished hairstyle that emphasizes smoothness and shine. This look is defined by clean lines, minimal texture, and a controlled finish, making it suitable for formal occasions. It works best for medium to long hair and complements dresses with sharp or modern design elements. The focus is on achieving a uniform surface without visible frizz or uneven sections. This hairstyle is often chosen for its simplicity and ability to highlight facial features and accessories. It aligns with minimalist style trends due to its clean and uncluttered appearance. The result is a refined look that remains consistent throughout the event without requiring frequent adjustments.
To achieve this style, start by washing and fully drying the hair. Apply a heat protectant and a smoothing serum to prepare the strands. Divide the hair into small sections and use a flat iron to straighten each section from root to tip. Move the straightener slowly to ensure even heat distribution. Use a fine-tooth comb during straightening to guide the hair and maintain alignment. After completing all sections, apply a light finishing spray to control flyaways. A shine serum can be added for a glossy finish. This method ensures a smooth, even result that maintains its structure throughout the event.
Idea 3: Side-Parted Waves
How to Create
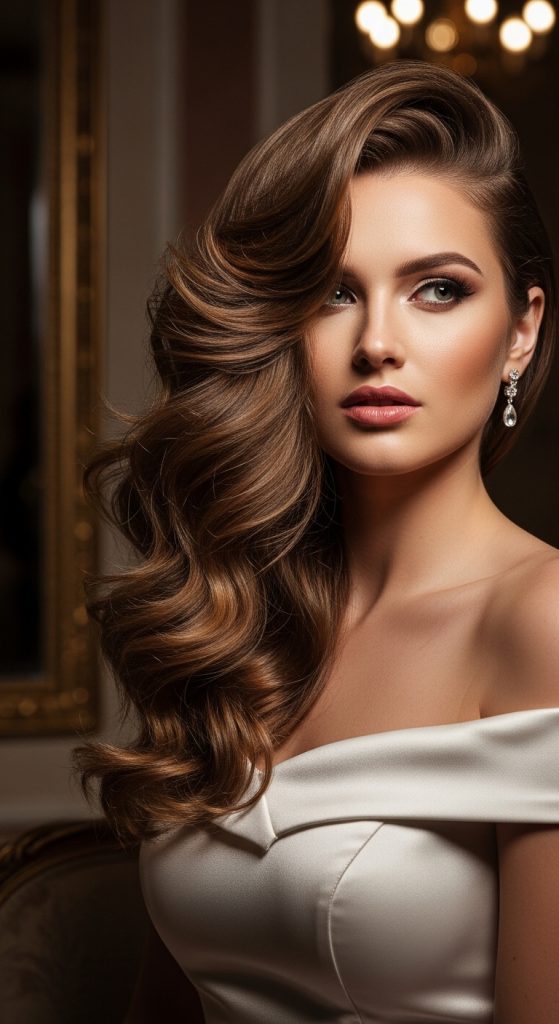
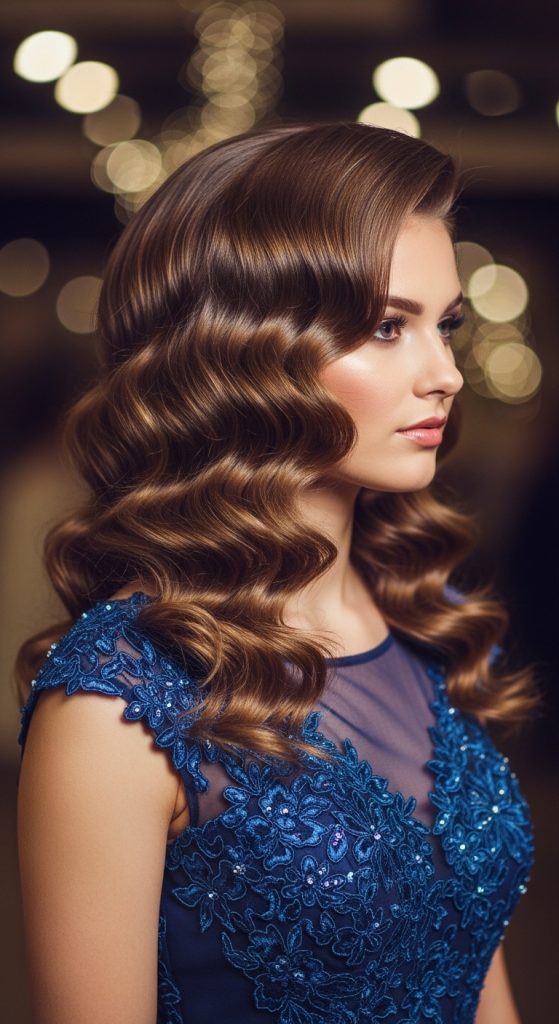
Side-parted waves combine volume with directional styling, creating a more defined and formal appearance. The deep side part adds asymmetry, which enhances the overall structure of the hairstyle. This approach is useful for balancing facial proportions and adding dimension to flat hair. The waves provide movement while the side part creates a focal point. This combination is frequently used in Pinterest ideas because it delivers both elegance and visual interest. It is suitable for various hair textures and works well with layered cuts.
To create this style, begin by parting the hair deeply on one side. Section the hair and apply heat protectant before curling. Use a curling iron to create medium-sized waves, ensuring that the front sections frame the face. Once all sections are curled, gently brush through to soften the texture. Adjust the volume on the heavier side by lightly teasing the roots. Secure the part with a small amount of hairspray to maintain structure. This process creates a balanced hairstyle with controlled volume and smooth flow.
Idea 4: Half-Tucked Down Style
How to Create
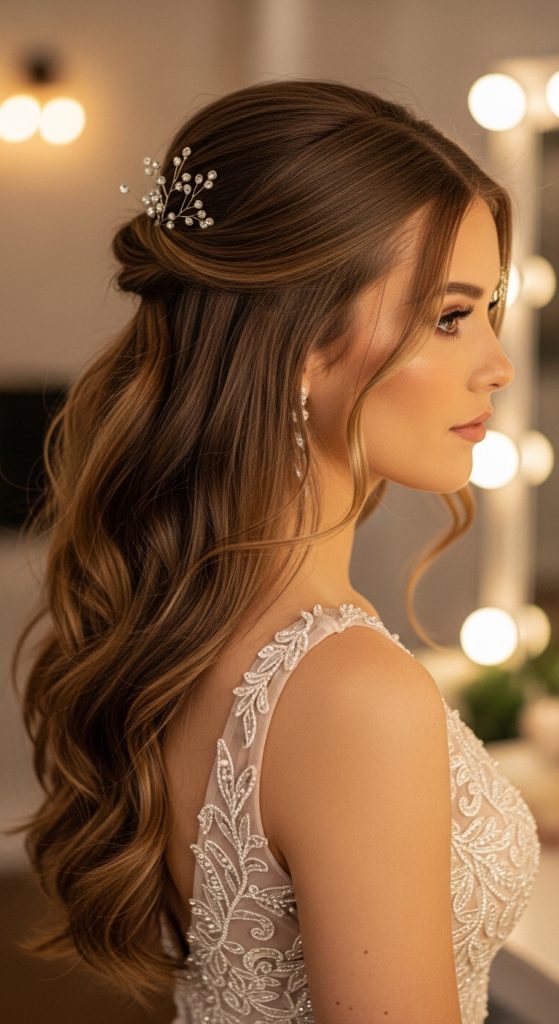
The half-tucked down style blends the openness of loose hair with the structure of partial pinning. This design keeps most of the hair down while subtly securing sections to create shape. It is useful for managing hair around the face without fully pulling it back. The result is a balanced look that combines comfort and elegance. This style works well with soft waves or straight hair, depending on preference.
To create this look, start with styled hair, either straight or lightly waved. Take small sections from each side of the head and bring them toward the back. Secure them using pins or a small clip. Ensure the pins are hidden within the hair for a clean finish. Adjust the tension to maintain a natural look without pulling too tightly. Finish with light hairspray to hold the shape. This method provides structure while maintaining the softness of a down hairstyle.
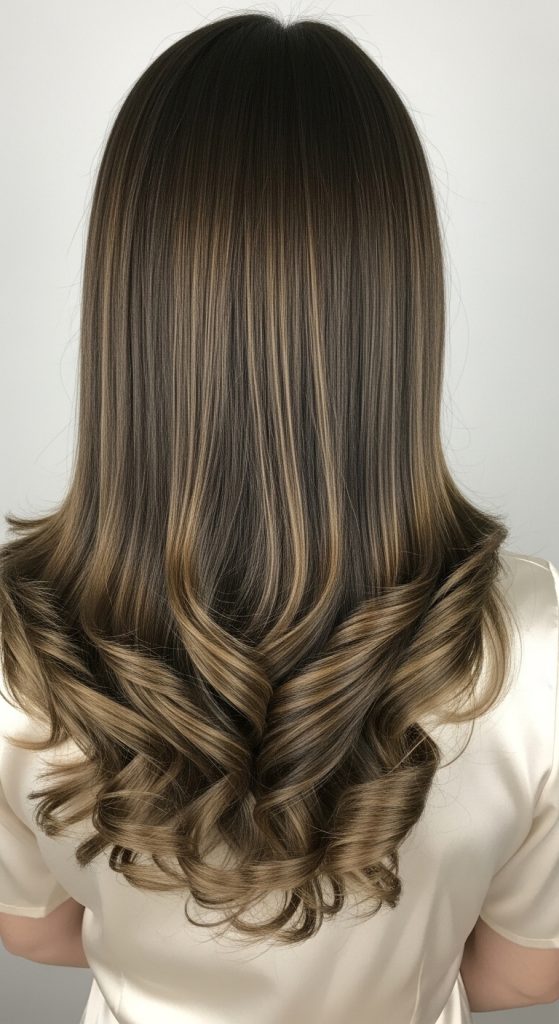
Idea 5: Curled Ends Style
How to Create
Curled ends focus on adding movement only to the lower portion of the hair. This approach keeps the top smooth while creating texture at the ends. It is ideal for those who prefer a simple yet styled appearance. The contrast between straight roots and curled ends adds dimension without complexity.
To achieve this style, straighten the hair first to create a smooth base. Then use a curling iron to curl only the ends of each section. Hold the curls briefly to maintain a loose finish. After curling, separate the ends gently with fingers. Apply a light serum to enhance shine and reduce frizz. Finish with a flexible hold spray. This step by step method ensures a clean and controlled result.
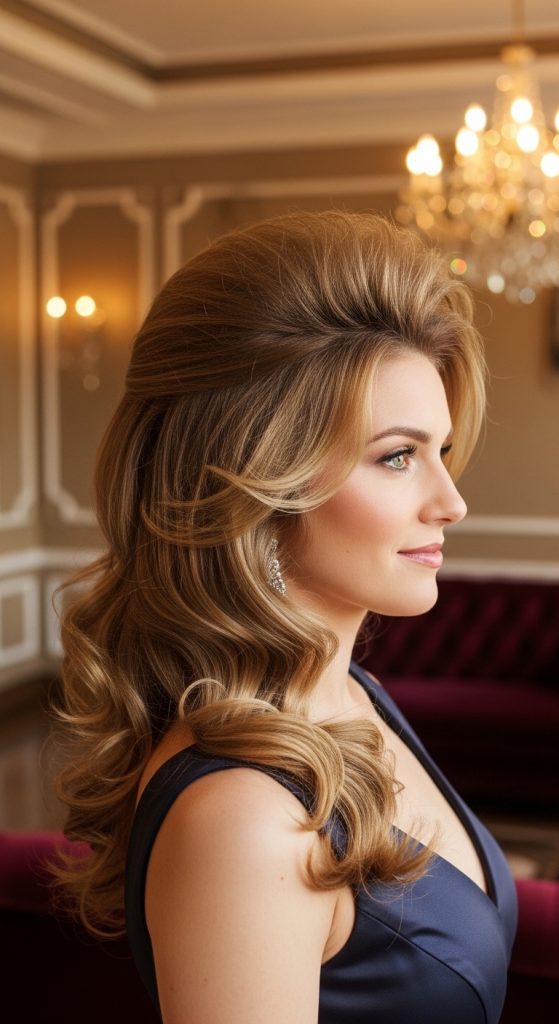
Idea 6: Voluminous Blowout
How to Create
A voluminous blowout creates lift and fullness while maintaining a smooth texture. This style focuses on root volume and curved ends, giving the hair a rounded shape. It is suitable for medium to long hair and works well with layered cuts.
To create this style, apply volumizing mousse to damp hair. Use a round brush while blow drying to lift the roots and shape the ends. Work in sections to maintain control. After drying, use a large-barrel curling iron to refine the shape if needed. Finish with hairspray to hold the volume. This process creates a structured yet soft appearance.
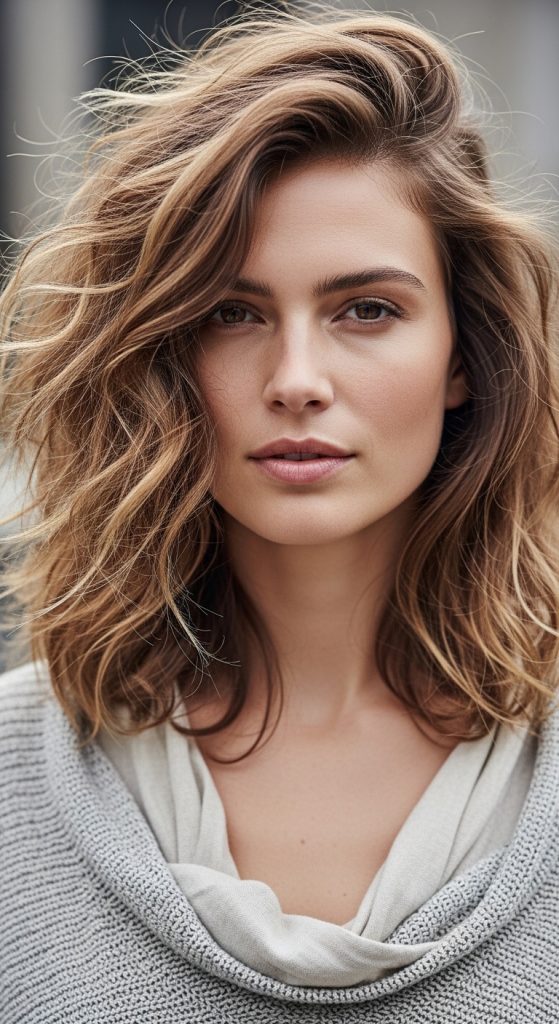
Idea 7: Natural Texture Look
How to Create
The natural texture look enhances the hair’s existing pattern, whether wavy or curly. This style avoids excessive heat styling and focuses on defining natural movement. It is suitable for those who want a low-maintenance yet polished result.
To achieve this, apply a curl-enhancing product to damp hair. Scrunch the hair gently and allow it to air dry or use a diffuser. Once dry, separate curls lightly to add volume. Apply a small amount of serum to control frizz. Finish with light hold spray. This method highlights natural texture while maintaining structure.
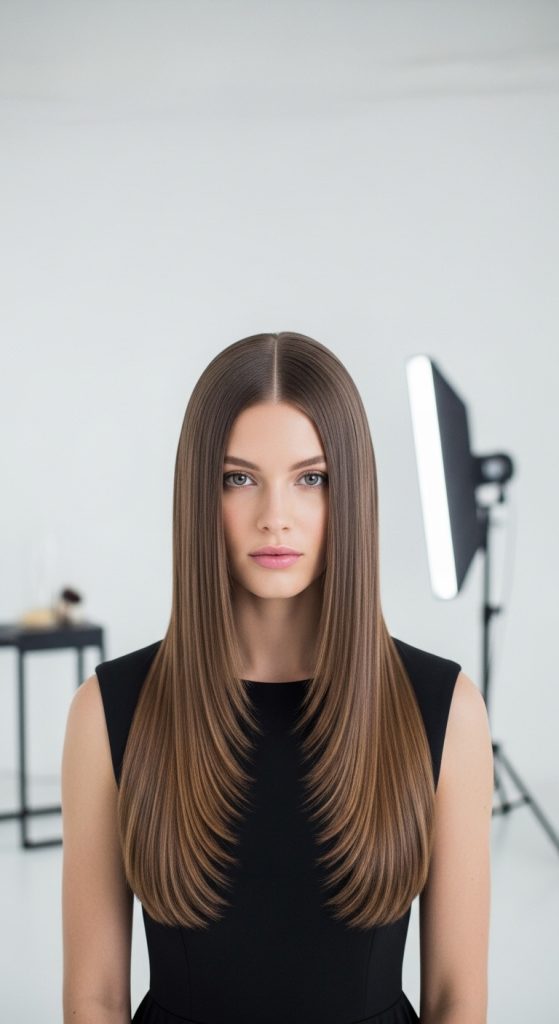
Idea 8: Straight with Middle Part
How to Create
This hairstyle emphasizes symmetry and balance through a clean middle part. It creates a structured look that complements formal outfits. The straight texture enhances the simplicity of the design.
To create this style, part the hair evenly down the center. Straighten each section carefully using a flat iron. Ensure both sides remain balanced in volume and length. Apply smoothing serum for a polished finish. Use hairspray to maintain alignment. This method ensures a consistent and clean appearance.
Idea 9: Layered Waves
How to Create
Layered waves enhance dimension by emphasizing different hair lengths. This style works best for layered cuts and creates depth through varied wave placement. It is suitable for adding movement without excessive volume.
To create layered waves, section the hair according to layers. Curl each section using a medium barrel iron, focusing on defining each layer. After curling, separate the layers gently to maintain distinction. Apply light serum for shine and finish with hairspray. This process creates a dynamic and structured look.
Idea 10: Loose Curls with Volume
How to Create
Loose curls with volume combine softness with lift, creating a full and balanced hairstyle. This look is defined by large curls and elevated roots. It is suitable for formal settings where a more defined style is required.
To achieve this style, apply volumizing product at the roots. Curl the hair using a large barrel iron, focusing on creating consistent curls. Allow the curls to cool before separating them. Lightly tease the roots for added volume. Finish with hairspray to hold the shape. This method creates a full and structured appearance.
Common Beginner Mistakes and How to Avoid Them
One common mistake is using excessive heat without protection, which can damage hair and affect styling results. Applying heat protectant before styling is necessary to maintain hair condition. Another issue is working with large, uneven sections, which leads to inconsistent results. Dividing hair into smaller sections improves control and ensures uniform styling. Skipping preparation steps such as drying or detangling can also affect the final look. Ensuring hair is clean and properly prepared helps maintain structure. Overusing styling products can weigh down the hair and reduce movement, so applying minimal amounts is recommended. Avoiding these mistakes helps achieve a more consistent and polished result.
Practical Tips for Better Results
Using the correct tool size is essential for achieving the desired texture. Larger barrels create softer waves, while smaller barrels produce tighter curls. Allowing hair to cool before styling further helps maintain shape. Working in a well-lit space improves accuracy and consistency. Keeping tools clean ensures better performance and prevents residue buildup. Practicing the style in advance helps refine technique and timing. These practical adjustments improve overall results and simplify the process.
Styling, Presentation, or Organization Ideas
Pairing hairstyles with appropriate accessories enhances the overall appearance. Simple pins or clips can add structure without overwhelming the design. Coordinating hairstyle with dress neckline ensures visual balance. Organizing tools and materials before starting reduces interruptions. Maintaining a clean workspace improves efficiency. These styling and organization choices contribute to a smoother preparation process.
Budget or Time Planning
Planning the styling process in advance helps manage time effectively. Allocating time for preparation, styling, and adjustments ensures a complete result. Using existing tools reduces cost and supports budget ideas. Practicing the hairstyle beforehand reduces the risk of delays. Efficient planning allows the process to remain simple and controlled.
Creative Expansion and Advanced Inspiration
Once basic techniques are mastered, variations can be introduced by combining styles. Adding braids or twists can enhance structure. Experimenting with different partings changes the overall look. Incorporating subtle accessories adds visual detail. These creative ideas allow for personalization while maintaining the core structure of down hairstyles.