10 Butterfly Cut Long Layers Ideas
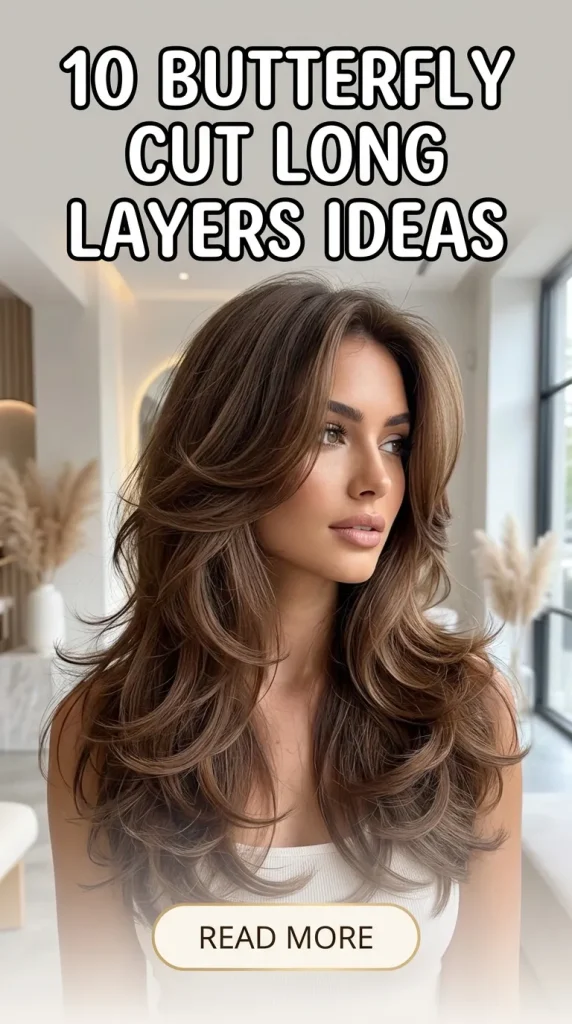
The butterfly cut with long layers is a structured haircut technique designed to create volume, movement, and a soft flowing shape while preserving overall hair length. This hairstyle combines shorter layers near the front with longer layers at the back, allowing the hair to lift naturally and fall in a feathered pattern. The layered structure distributes weight evenly, which helps reduce heaviness while enhancing texture. Because of this balance, the butterfly cut has become one of the most saved Pinterest ideas in modern hairstyle inspiration.
This article explains ten butterfly cut long layer variations that are practical, beginner friendly, and adaptable to different hair types. Each idea focuses on how the layers are positioned, how they affect volume and movement, and how they can be styled for everyday use. The goal is to provide a clear step by step understanding of how this haircut works and how it can be recreated or maintained.
The butterfly cut is useful because it allows long hair to appear lighter and more dynamic without removing length. It supports natural styling, reduces the need for excessive heat tools, and works well for both casual and structured looks. These qualities make it a practical and aesthetic creative project for modern hair styling.
Why This Idea Is Trending or Useful
The butterfly cut with long layers has become a trending hairstyle because it solves common challenges associated with long hair. Many individuals experience issues such as flatness, heaviness, or lack of movement. The layered structure of the butterfly cut addresses these concerns by redistributing hair weight and creating lift at the crown and front sections. This results in a hairstyle that appears fuller and more dynamic without requiring complex styling techniques.
Another reason for its popularity is its alignment with modern design preferences. Current Pinterest inspiration often highlights natural movement, soft texture, and effortless styling. The butterfly cut fits this trend because it allows hair to fall into place naturally. The layers are designed to enhance the natural shape of the hair rather than force it into a rigid structure. This makes the hairstyle suitable for both everyday routines and special occasions.
The technique is also accessible for beginners. While the haircut itself requires precision, maintaining and styling it is relatively simple. Many individuals consider it an easy project because the layers support natural volume. It also works across different hair types, making it widely adaptable. This combination of practicality, design relevance, and styling flexibility explains why it continues to gain popularity.
Materials and Preparation
Creating a butterfly cut with long layers requires proper preparation to ensure balance and precision. The essential materials include sharp hair scissors, a fine sectioning comb, hair clips, and a spray bottle with water. These tools help maintain clean sections and allow controlled cutting. Damp hair is easier to manage, so lightly misting the hair before cutting improves accuracy and helps maintain even tension across strands.
The preparation process begins with detangling the hair completely. Smooth hair ensures that each section can be cut evenly without interference from knots. After detangling, the hair should be divided into clear sections. Typically, the hair is separated into front, crown, sides, and back sections. Hair clips are used to secure each section while working on one area at a time. This organization prevents uneven layering and helps maintain consistency throughout the haircut.
Planning the layer structure is also critical. The butterfly cut relies on shorter front layers that gradually transition into longer back layers. Determining how short the front layers should be is important because it affects the overall shape of the hairstyle. Face shape and hair density should also be considered during planning. Careful preparation ensures that the haircut remains structured, balanced, and visually consistent.
Idea 1: Classic Butterfly Long Layers
How to Create
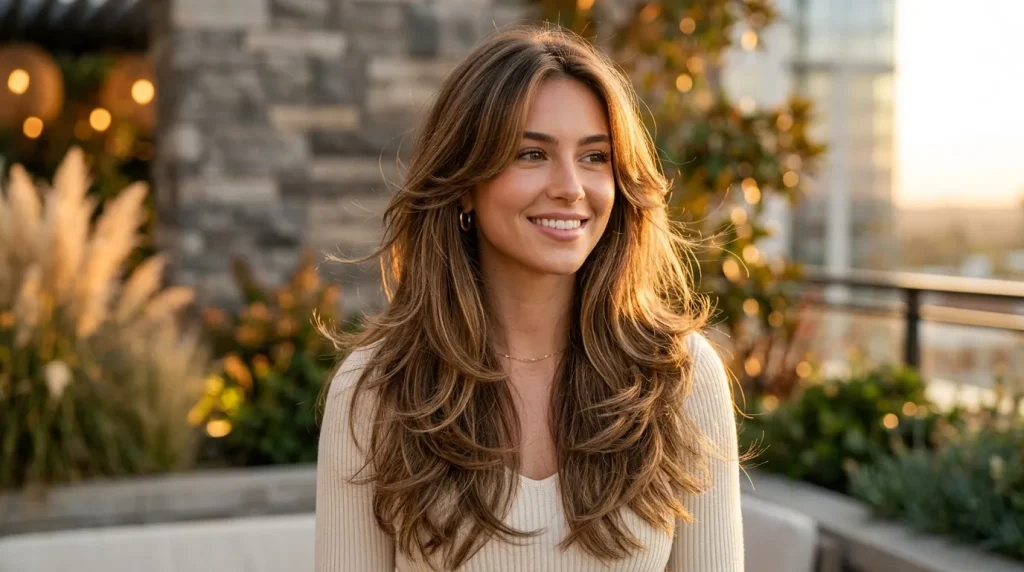
The classic butterfly cut with long layers is defined by a smooth transition between short front layers and extended back lengths. This design creates a natural lifting effect around the face while maintaining full length at the back. The shorter layers near the front frame the face and add volume, while the longer layers provide structure and continuity. This balance creates a lightweight appearance without removing the overall length of the hair.
This style is commonly used in Pinterest ideas because it offers a clean and adaptable look. The layers fall naturally without requiring heavy styling, which makes it practical for daily routines. The design works particularly well for straight and slightly wavy hair because the layering enhances movement. The front layers create a soft curve that follows the face, while the back layers ensure the hairstyle remains grounded and structured.
To create this style, begin by sectioning the hair into front and back portions. Focus on the front section and cut shorter layers using a slight angle to create a feathered effect. Gradually extend the length of the layers as you move toward the back. Use a comb to check for smooth transitions and adjust uneven areas. The goal is to maintain a consistent flow between all layers.
Step-by-Step Process
Start by lightly dampening the hair to improve control. Use a sectioning comb to divide the hair into clear parts, securing each section with clips. Begin with the front sections, lifting small portions of hair upward and cutting at a downward angle. This technique creates the signature feathered effect of the butterfly cut. Work slowly and check the length frequently to avoid cutting too short.
Once the front layers are complete, move toward the sides and gradually blend them into the back sections. The key is to maintain a smooth transition between different lengths. Avoid creating sharp lines or sudden changes in length. Instead, use small, controlled cuts to blend each section naturally. Continue this process until all sections are connected.
After cutting, comb through the hair to check for balance and symmetry. Make small adjustments where necessary. The final result should show a clear layering pattern that starts shorter at the front and becomes longer toward the back. This creates a flowing shape that enhances movement and volume without removing length.
Idea 2: Face-Framing Butterfly Layers
How to Create
Face-framing butterfly layers focus on shaping the front sections of the hair to highlight facial features. This design emphasizes shorter layers around the face while maintaining longer layers throughout the rest of the hair. The result is a hairstyle that draws attention to the face while still preserving overall length and structure.
These layers are particularly useful for creating softness and balance. The shorter strands help break up the heaviness of long hair and create a natural frame. This technique works well for different face shapes because the layers can be adjusted to suit individual proportions. For example, slightly longer front layers can create a more elongated appearance, while shorter layers can add width.
To create this look, begin by separating the front portion of the hair from the rest. Cut the front layers at a slight angle so they curve naturally around the face. Blend these layers gradually into the longer sections behind them. This ensures a smooth transition and prevents the layers from appearing disconnected.
Step-by-Step Process
Start with clean, detangled hair and divide it into sections. Focus on the front portion first. Use a comb to lift small sections of hair and cut them at a downward angle. The angle should follow the natural contour of the face. This creates a curved shape that frames the face without appearing too sharp.
Continue working on the front sections, ensuring both sides remain symmetrical. Check the length frequently by comparing both sides. Once the front layers are complete, begin blending them into the side and back sections. Use small trimming motions to create a gradual transition between lengths.
After blending, comb through the hair to check for consistency. The front layers should appear shorter and more defined, while the rest of the hair remains longer and flowing. This design creates a balanced look that enhances facial features while maintaining the overall structure of the butterfly cut.
Idea 3: Soft Feathered Butterfly Cut
How to Create
The soft feathered butterfly cut focuses on creating light, airy layers that move freely and reduce the heaviness of long hair. This variation emphasizes a gentle, diffused look rather than sharp or defined layering. The feathering technique involves cutting the hair at soft angles so the ends appear slightly tapered instead of blunt. This creates a natural flow where each layer blends smoothly into the next.
This style works particularly well for individuals who want a relaxed and effortless appearance. It aligns strongly with Pinterest ideas that highlight soft, aesthetic hairstyles with natural movement. The feathered structure allows the hair to fall lightly around the shoulders and face, creating a balanced shape. It is especially suitable for medium to thick hair because it removes bulk while maintaining volume.
To create this design, the layers should be cut using light, angled motions rather than straight cuts. The goal is to create a gradual transition between lengths so that no harsh lines are visible. This approach ensures the hairstyle appears soft and continuous rather than structured or rigid.
Step-by-Step Process
Begin by lightly dampening the hair and dividing it into manageable sections using clips. Start with the front sections and lift small portions of hair at a slight angle. Use scissors to trim the ends with soft, feathered strokes rather than cutting straight across. This technique creates a lighter edge and prevents the layers from appearing heavy.
Move gradually toward the sides and back, repeating the same angled cutting technique. Ensure that each section blends naturally into the next. Avoid cutting large amounts of hair at once. Instead, work in small sections to maintain control and consistency. This helps prevent uneven layering and maintains the soft structure of the hairstyle.
Once all sections are cut, comb through the hair to check for smooth transitions. Make small adjustments where needed to refine the feathered effect. The final result should show layers that flow seamlessly into each other, creating a soft and airy appearance that enhances natural movement.
Idea 4: Butterfly Cut with Curtain Layers
How to Create
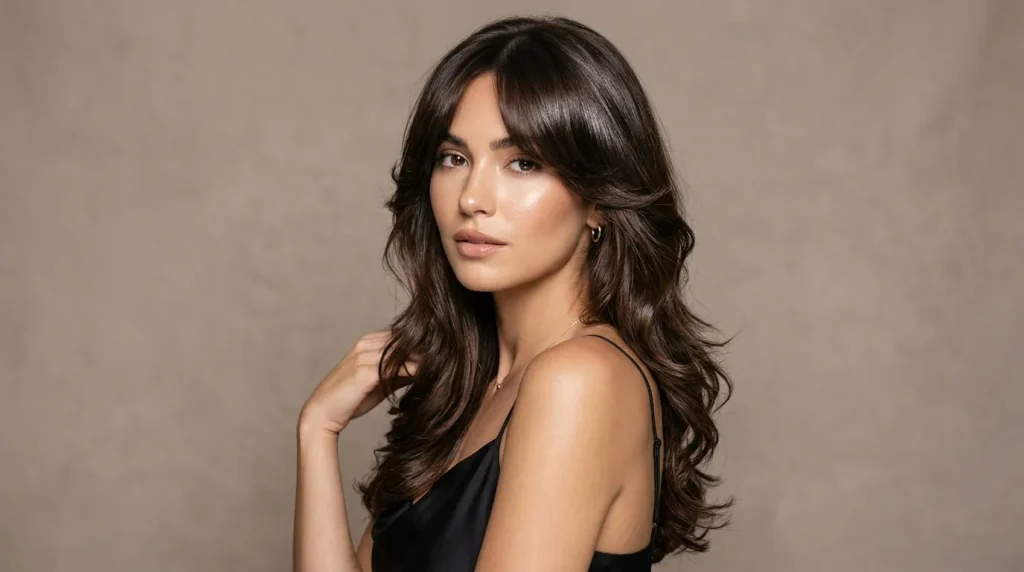
The butterfly cut with curtain layers combines two popular hairstyle techniques into one cohesive design. Curtain layers are front sections of hair that are parted in the center and fall symmetrically on both sides of the face. When combined with the butterfly cut, these layers enhance the framing effect while maintaining the overall layered structure.
This style is widely used in modern design trends because it creates balance and symmetry. The curtain layers draw attention to the center of the face while the longer layers provide depth and movement. This combination results in a hairstyle that appears structured yet soft. It is especially effective for individuals who prefer a centered hair part and want to maintain a natural flow.
To create this look, the front section of the hair is divided into two equal parts. Each side is cut at a downward angle so the layers curve away from the face. These layers are then blended into the longer sections behind them. The result is a smooth transition that connects the curtain layers with the rest of the haircut.
Step-by-Step Process
Start by creating a clean center part using a sectioning comb. Separate the front portion of the hair into two equal sections. Clip the remaining hair back so you can focus on the front layers. Take one side and lift small sections of hair at a slight angle. Cut the layers so they gradually increase in length as they move downward.
Repeat the same process on the other side, ensuring both sides remain symmetrical. Use a mirror to check alignment and adjust where necessary. Once the curtain layers are complete, begin blending them into the side sections. Use small trimming motions to create a gradual connection between the layers.
After blending, release the rest of the hair and comb through all sections. The curtain layers should frame the face evenly while merging smoothly into the longer layers. This technique creates a balanced hairstyle that highlights facial features while maintaining the signature butterfly shape.
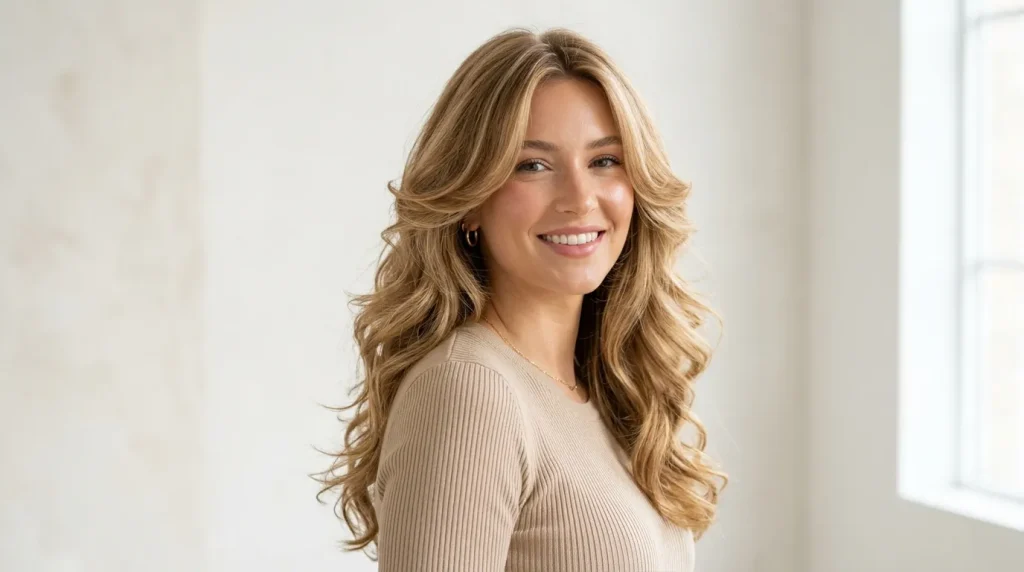
Idea 5: Voluminous Butterfly Layers
How to Create
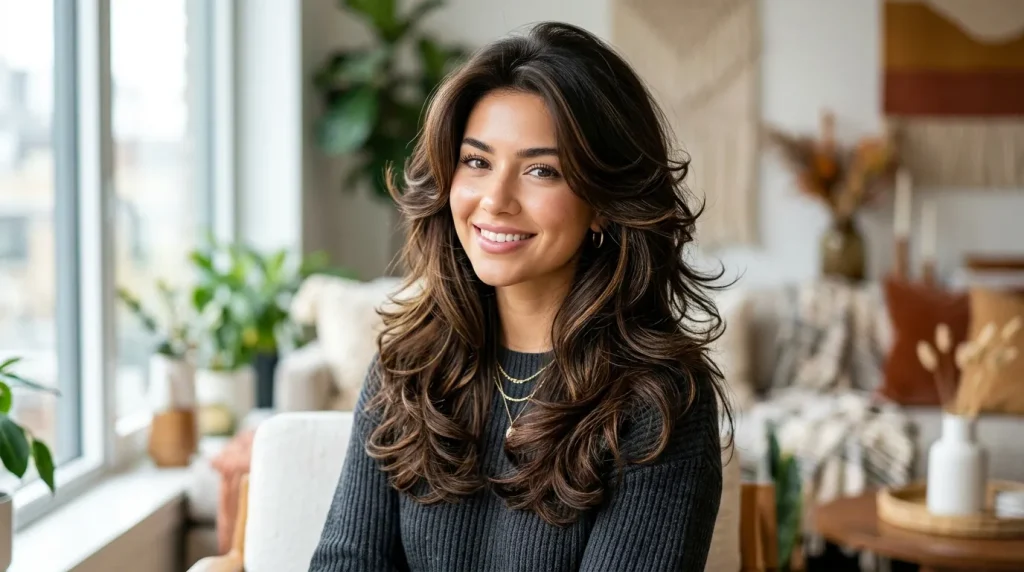
The voluminous butterfly cut focuses on increasing height and lift at the crown while maintaining long flowing layers throughout the rest of the hair. This variation is designed for individuals who want their hair to appear fuller without adding additional weight. The layered structure redistributes volume upward, creating a lifted effect that enhances the overall silhouette.
This style is commonly featured in trending ideas because it creates a noticeable transformation in hair volume without requiring heavy styling products. The shorter layers at the crown provide natural lift, while the longer layers maintain movement and length. This combination results in a hairstyle that appears both full and lightweight.
To achieve this effect, the top sections of hair are cut slightly shorter than usual. These layers act as a support structure that lifts the rest of the hair. The sides and back are then blended into these shorter layers, ensuring a smooth transition. The goal is to create volume without disrupting the overall flow of the hairstyle.
Step-by-Step Process
Begin by sectioning the crown area separately from the rest of the hair. Lift small sections of hair vertically and trim them slightly shorter than the surrounding layers. This creates a foundation for volume. Continue working across the crown, ensuring the layers remain even and balanced.
Next, move to the side sections and blend them into the crown layers. Use a comb to guide the hair and make small adjustments to maintain a smooth transition. Avoid cutting too much from the sides, as the goal is to preserve length while enhancing volume at the top.
Finally, check the overall shape by combing the hair downward. The crown should appear lifted, while the rest of the hair flows naturally. Make minor adjustments if needed to ensure consistency. The result is a layered hairstyle that creates height and fullness without sacrificing length.
Idea 6: Butterfly Cut for Thick Hair
How to Create
The butterfly cut for thick hair is specifically designed to reduce bulk while maintaining structure and movement. Thick hair often appears heavy and difficult to manage, but layered cutting techniques can distribute weight more evenly. This variation focuses on creating deeper layers that remove excess density without compromising the overall shape.
This approach is highly practical and aligns with DIY and beginner friendly haircut ideas because it improves manageability. By removing bulk from the interior layers, the hair becomes easier to style and less prone to appearing flat. The outer layers remain longer to preserve the overall length and structure.
To create this design, the hair is sectioned and cut into multiple layers with varying depths. The inner sections are trimmed more significantly than the outer sections. This technique reduces density while maintaining a smooth surface appearance.
Step-by-Step Process
Start by dividing the hair into multiple sections, focusing on separating the inner layers from the outer layers. Begin cutting from the inner sections by lifting small portions of hair and trimming them slightly shorter. This reduces weight without affecting the visible outer layers.
Continue this process throughout the head, ensuring that the inner layers are evenly distributed. Avoid removing too much length at once. Instead, work gradually to maintain control. Once the inner layers are complete, blend them into the outer layers using light trimming motions.
After blending, comb through the hair to check for balance. The hair should feel lighter while still maintaining its overall shape. This technique creates a more manageable hairstyle that retains volume without excessive bulk.
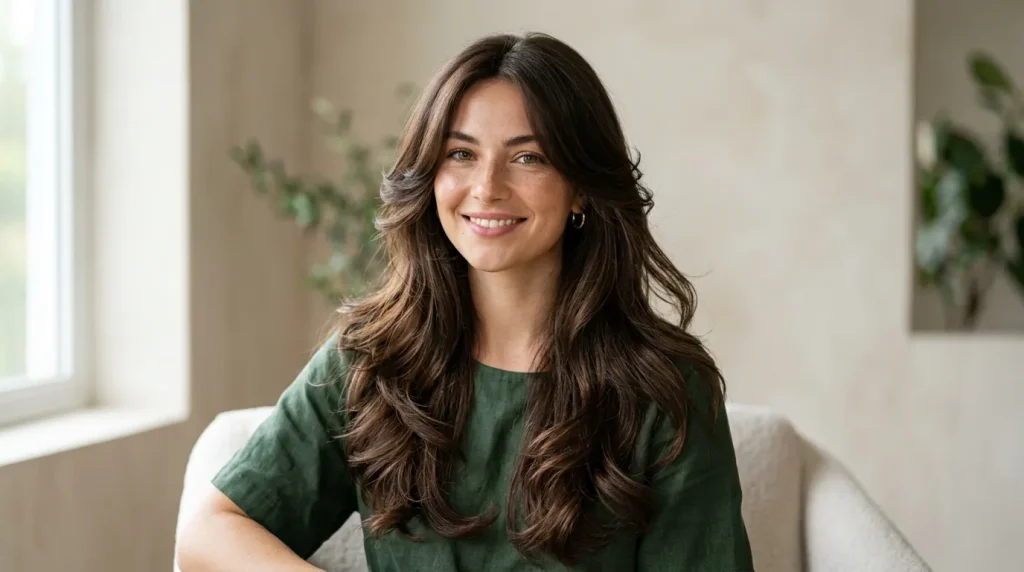
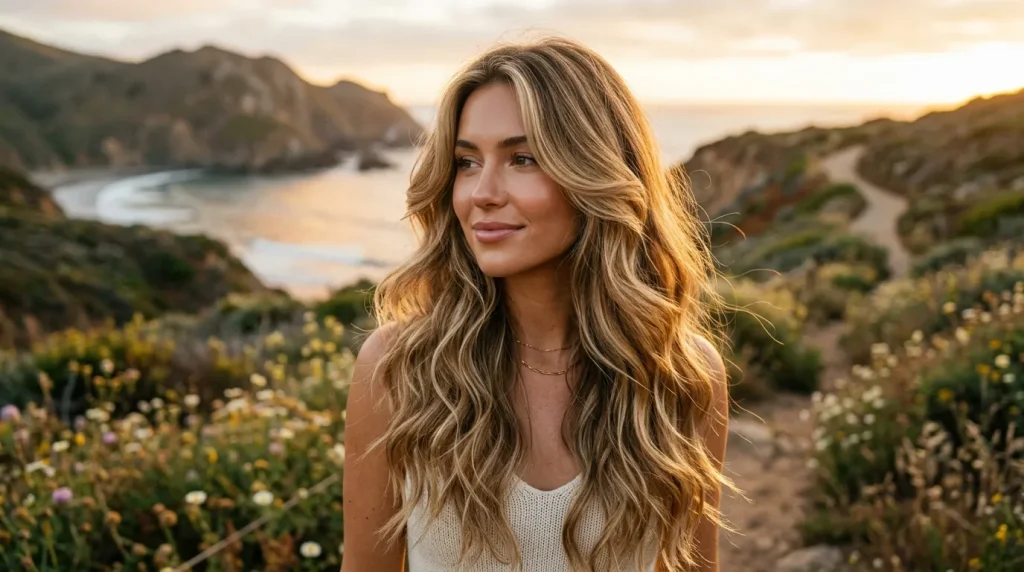
Idea 7: Butterfly Layers with Loose Waves
How to Create
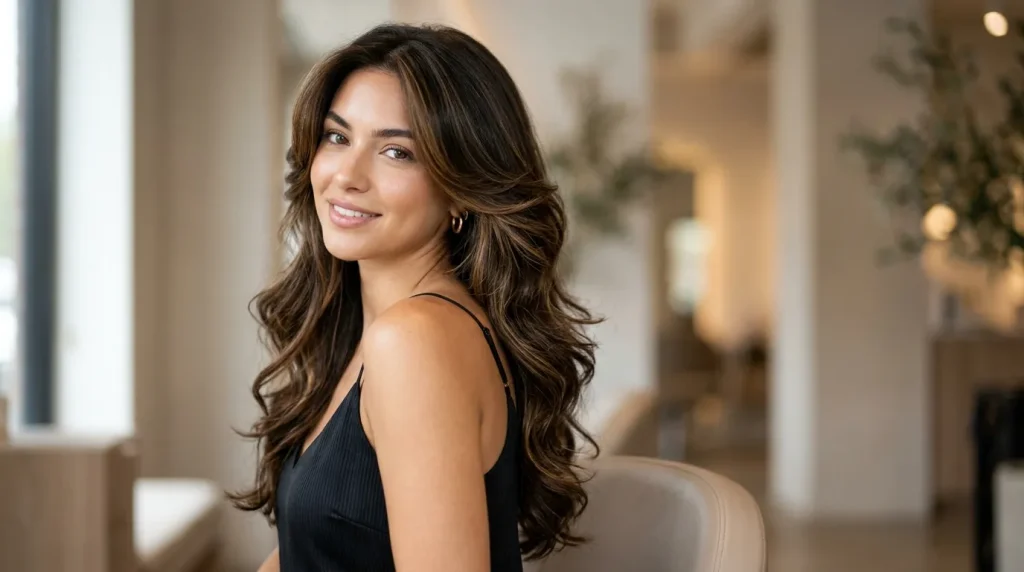
The butterfly cut with loose waves enhances the layered structure by adding natural texture and movement. While the haircut itself creates volume through layering, waves amplify this effect by separating the strands and allowing the layers to become more visible. This combination creates a soft, flowing hairstyle that appears dynamic and full without looking overly styled.
This style is commonly seen in Pinterest ideas because it highlights the depth of the layers. The waves create dimension by allowing light to reflect differently across each strand. This makes the haircut appear more detailed and visually interesting. It is particularly effective for medium to long hair lengths where the layers have enough space to move freely.
To create this look, the butterfly cut must first be properly layered. Once the haircut is complete, loose waves are added to emphasize the layered structure. The waves should remain soft and natural rather than tightly curled, ensuring the hairstyle maintains its relaxed appearance.
Step-by-Step Process
Begin by preparing clean, dry hair. Divide the hair into sections to ensure even styling. Take a small section and wrap it loosely around a curling tool or create waves using a braiding method. Hold briefly and release to form a soft wave. Repeat this process throughout the hair.
After creating waves, gently run fingers through the hair to separate the strands. Avoid using a comb, as this can flatten the waves. The goal is to maintain a natural, airy texture that highlights the layered design.
Check the overall shape and adjust sections where needed. The waves should reveal different layer lengths throughout the hair. This creates a balanced and flowing appearance. The final result is a hairstyle that combines structured layering with soft texture, enhancing the overall aesthetic of the butterfly cut.
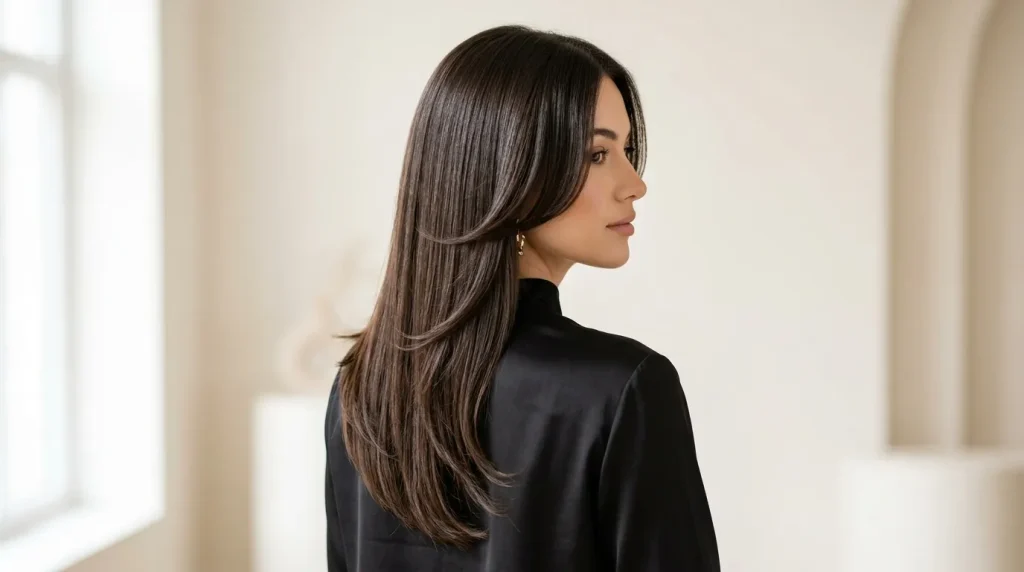
Idea 8: Straight Sleek Butterfly Layers
How to Create
The straight sleek butterfly cut focuses on highlighting the precision of the layered structure. Unlike textured styles, this variation emphasizes clean lines and smooth transitions between layers. The straight finish allows the layering pattern to be clearly visible, making it ideal for showcasing the technical detail of the haircut.
This style aligns with minimalist style trends often seen in modern Pinterest inspiration. The sleek appearance creates a polished and organized look that works well for professional settings. It also allows the layers to appear more defined, making the haircut structure more noticeable.
To achieve this style, the butterfly cut must be carefully layered to ensure smooth blending. Each section should transition evenly into the next without visible gaps. The straight finish enhances this effect by aligning the hair strands in a uniform direction.
Step-by-Step Process
Start by detangling the hair completely to ensure smooth styling. Divide the hair into sections and work one section at a time. Use a comb to guide the hair downward while applying gentle tension. This helps maintain alignment and prevents uneven strands.
Smooth each section carefully, ensuring that the layers remain visible. Avoid excessive movement or volume, as the goal is to create a sleek and controlled appearance. Continue this process until all sections are aligned.
Once finished, check the hair from different angles to ensure consistency. The layers should appear evenly distributed and clearly defined. The final result is a clean and structured hairstyle that emphasizes the precision of the butterfly cut while maintaining a modern and aesthetic appearance.
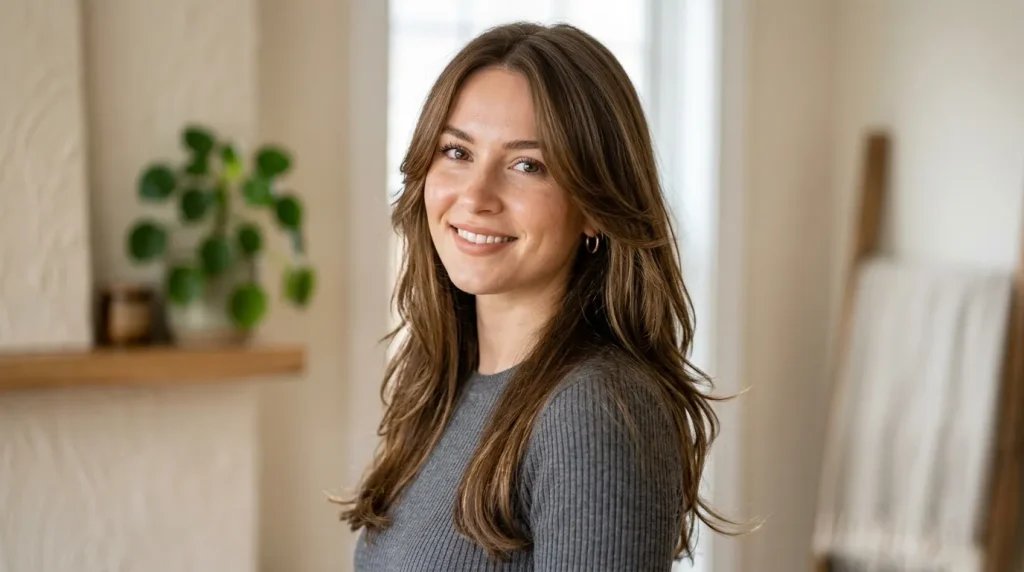
Idea 9: Subtle Butterfly Layers
How to Create
Subtle butterfly layers offer a softer variation of the traditional butterfly cut. This design reduces the contrast between layer lengths, creating a more natural and understated appearance. Instead of dramatic differences between short and long layers, the transition is gradual and less noticeable.
This style is suitable for individuals who prefer a minimal change while still improving hair movement. It is often used in beginner friendly haircut projects because it requires less aggressive cutting. The layers enhance the natural shape of the hair without creating a strong visual effect.
To create subtle layers, the hair is trimmed with small differences in length. The front layers are slightly shorter than the back, but the variation remains gentle. This ensures that the hairstyle maintains a cohesive and balanced look.
Step-by-Step Process
Begin by sectioning the hair into manageable parts. Focus on creating small, gradual differences in length rather than large changes. Lift small sections of hair and trim lightly to create soft layering.
Work evenly across all sections, ensuring that the layers blend smoothly. Avoid cutting too deeply into the hair, as this can disrupt the subtle effect. Instead, use controlled, minimal trimming to maintain a natural appearance.
After completing the layers, comb through the hair to check for consistency. The transition between lengths should appear seamless. The final result is a lightweight hairstyle that enhances movement while maintaining a natural and understated design.
Idea 10: Multi-Level Butterfly Cut
How to Create
The multi-level butterfly cut introduces several distinct layers throughout the hair to create depth and dimension. Unlike simpler versions, this variation uses multiple layer levels to produce a more complex structure. Each level contributes to the overall movement and volume of the hairstyle.
This design is often featured in trending ideas because it creates a visually rich appearance. The layers interact with each other, allowing the hair to move in different directions. This creates a dynamic effect that changes depending on how the hair is styled.
To create this look, the hair is divided into several sections, each representing a different layer level. The layers are cut progressively, with each level slightly longer than the one above it. This creates a cascading effect throughout the hair.

Step-by-Step Process
Start by dividing the hair into multiple horizontal sections. Begin with the top section and cut it into the shortest layer. Move downward, cutting each subsequent section slightly longer than the previous one.
Ensure that each layer blends smoothly into the next. Use a comb to guide the hair and check for even transitions. Avoid creating sharp separations between layers. Instead, focus on maintaining a gradual flow.
After completing all sections, comb through the hair to evaluate the overall shape. The layers should appear stacked yet connected. Make small adjustments where necessary to refine the structure. The final result is a multi-dimensional hairstyle that enhances movement and creates a visually detailed layered effect.
Common Beginner Mistakes and How to Avoid Them
One of the most common mistakes when creating a butterfly cut is cutting the front layers too short too quickly. Because these layers define the overall shape, cutting them excessively can disrupt balance. It is important to cut gradually and check the length frequently. Another mistake involves poor sectioning. Without clear sections, the layers may become uneven or disconnected, resulting in an inconsistent appearance.
Another issue is failing to blend layers properly. Sharp transitions between layers can make the haircut look unbalanced. Using small trimming motions and checking transitions regularly helps maintain smooth blending. Beginners also often overlook hair texture differences. Curly or wavy hair may shrink after cutting, so it is important to account for this when determining length.
Practical Tips for Better Results
Working with slightly damp hair improves precision and control during cutting. Damp strands are easier to manage and help maintain consistent tension. Using a fine sectioning comb ensures clean parts, which contributes to accurate layering. Regularly checking symmetry on both sides of the head also helps maintain balance.
Another useful tip is to cut less than expected initially. It is easier to remove additional length than to correct overly short layers. Practicing controlled, small cuts improves accuracy. Consistency in section size also helps create uniform layers. These techniques support better results and reduce the risk of uneven cutting.
Styling, Presentation, or Organization Ideas
The butterfly cut can be styled in multiple ways depending on the desired appearance. Loose waves enhance movement and highlight layer variation, while straight styles emphasize clean lines. Changing the hair part can also alter the visual effect. A center part creates symmetry, while a side part adds volume and asymmetry.
Layered hairstyles also benefit from simple organization techniques. Keeping hair sections balanced and evenly distributed helps maintain the shape of the cut. Styling should focus on enhancing the natural flow of the layers rather than forcing a rigid structure. This approach creates a more aesthetic and adaptable hairstyle.
Budget or Time Planning
The butterfly cut requires minimal materials, making it suitable for budget ideas. Basic tools such as scissors, combs, and clips are sufficient. The haircut process may take time initially, especially for beginners, but maintenance is simple. Once the layers are established, daily styling requires minimal effort.
Time planning is also manageable. The initial cutting process can take one to two hours depending on hair length and complexity. Regular trimming sessions help maintain the shape without requiring a full haircut each time.
Creative Expansion and Advanced Inspiration
The butterfly cut can be expanded through additional creative ideas such as combining layers with color techniques. Subtle highlights or gradient tones can enhance the layered structure by adding depth. Advanced variations may also include asymmetrical layering or mixed textures to create unique designs.
Experimenting with layer placement allows for further customization. Adjusting the length of front layers or increasing the number of layers can create new variations of the style. These creative approaches transform the butterfly cut into a flexible and evolving hairstyle concept suitable for different preferences and trends.