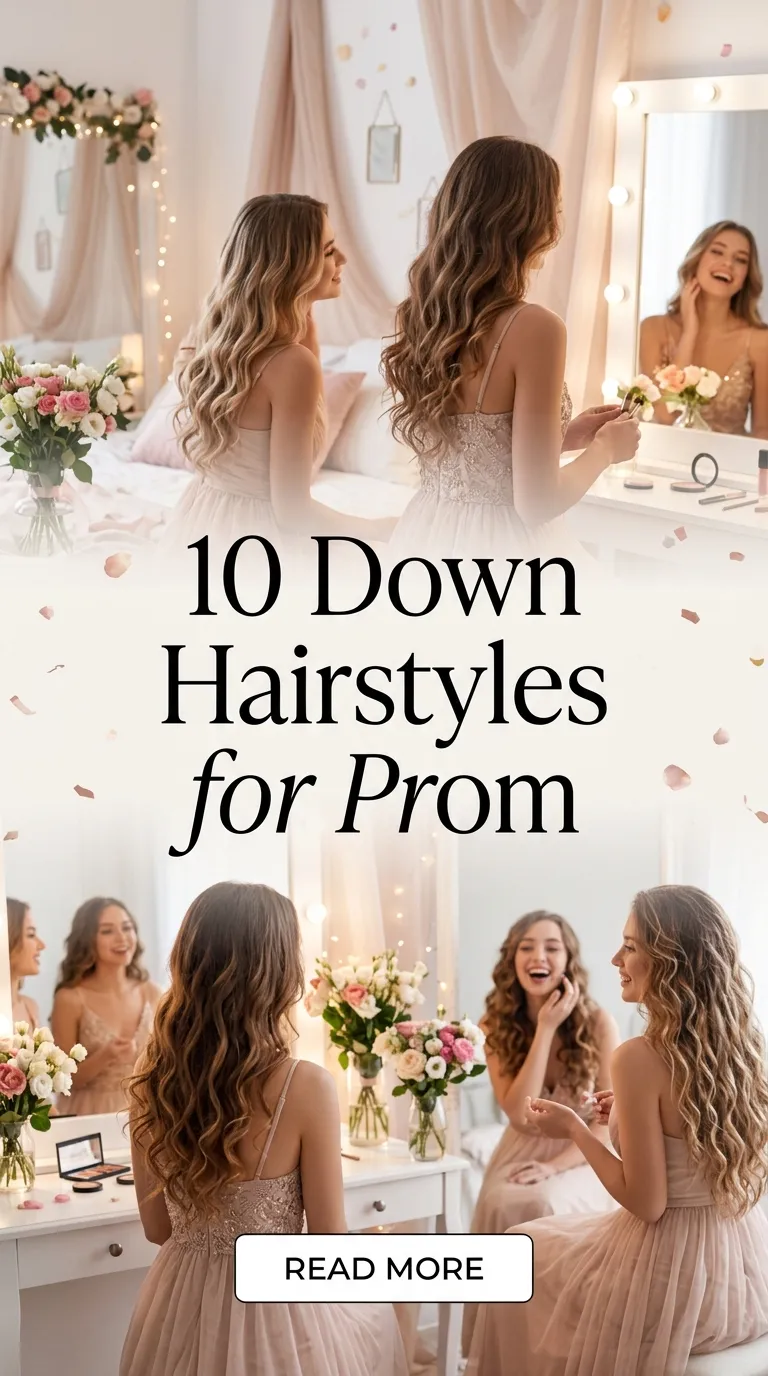
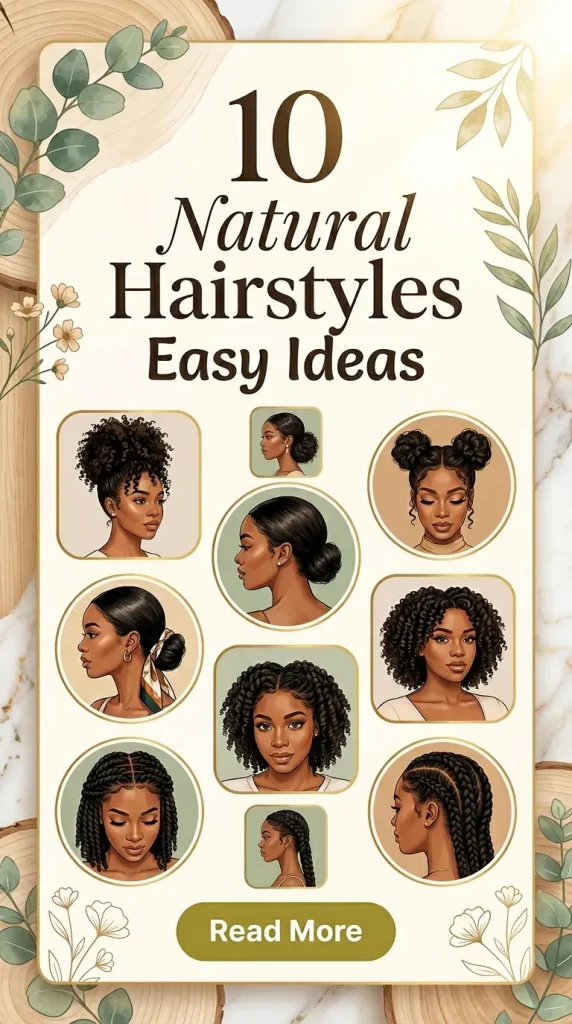
10 Natural Hairstyles Easy Ideas
Introduction
Natural hairstyles are becoming a central focus in modern Pinterest ideas due to their simplicity, versatility, and connection to everyday beauty routines. These styles emphasize working with natural hair texture rather than altering it with excessive heat or chemicals. As a result, they support healthier hair practices while also offering visually appealing results suitable for daily wear or special occasions. This article presents a complete guide to easy natural hairstyles designed for beginners who want practical and achievable styling methods. Each idea includes clear instructions, materials, and step-by-step processes to ensure accessibility without requiring professional skills. Readers will learn how to create a range of styles using minimal tools and basic preparation techniques. These hairstyles also align with modern design preferences such as minimalist style, clean structure, and organized presentation. Whether the goal is everyday convenience or creative expression, these DIY hairstyle tutorials provide reliable and effective solutions. The focus remains on structured execution, consistent results, and adaptable styling methods that suit different hair types and lengths.
Why This Idea Is Trending or Useful
Natural hairstyles are widely shared across Pinterest due to their practical value and alignment with current beauty trends. These styles reduce dependence on heat styling tools, which helps maintain hair strength and natural texture over time. The growing preference for sustainable and low-maintenance routines has also contributed to their popularity. Many users seek creative ideas that can be completed quickly while still achieving a polished appearance. These hairstyles meet that demand by offering structured, repeatable methods that are easy to follow. Another reason for their relevance is accessibility. Most styles require basic materials such as combs, hair ties, and clips, making them beginner friendly and cost-effective. The DIY aspect also appeals to individuals who prefer self-styling rather than salon visits. In addition, natural hairstyles support versatility, allowing users to adapt looks for work, casual settings, or events. Their compatibility with modern home decor aesthetics, such as minimalism and clean organization, further enhances their appeal in visual platforms. This combination of efficiency, affordability, and design relevance makes them a consistent source of inspiration.
Materials and Preparation
Preparing for natural hairstyles involves organizing essential tools and understanding basic hair care steps. Common materials include a wide-tooth comb, detangling brush, hair ties, bobby pins, sectioning clips, and a spray bottle filled with water. Optional additions such as leave-in conditioner or lightweight oil can help improve manageability and smoothness. Before styling, hair should be clean and slightly damp or fully dry depending on the chosen method. Detangling is a critical step to prevent breakage and ensure even styling. Sectioning the hair into manageable parts helps maintain control and accuracy during the process. Planning is also important. Decide on the hairstyle based on available time, hair length, and desired appearance. A mirror setup that allows visibility from multiple angles improves precision. For beginners, practicing each step slowly helps build confidence and consistency. Keeping materials organized in one place reduces interruptions during the styling process. Proper preparation ensures that each hairstyle is executed efficiently, resulting in clean structure and long-lasting results.
Idea 1: Simple Low Bun
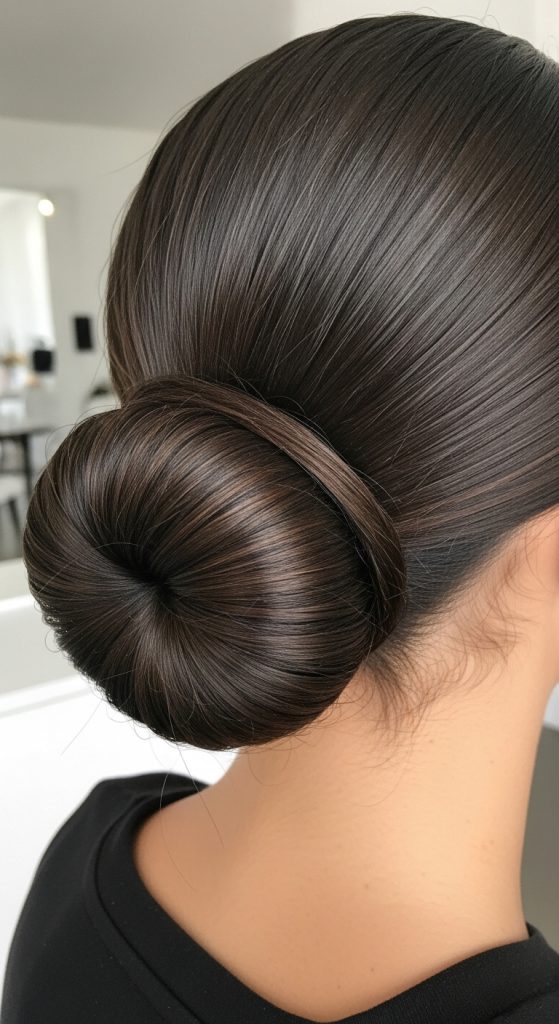
How to Create
A simple low bun is a structured hairstyle that gathers hair at the nape of the neck into a compact and secure form. This style works well for both casual and formal settings due to its clean and organized appearance. It supports minimalist style principles by reducing visual complexity while maintaining a polished finish. The low bun is also suitable for various hair textures, making it a versatile option among beginner friendly Pinterest ideas. Its design focuses on smoothness and balance, ensuring that the hair remains controlled throughout the day. This hairstyle is especially useful for individuals seeking an easy project that can be completed quickly without specialized tools. It also aligns with home decor-inspired aesthetics where simplicity and structure are prioritized. The low bun can be adapted by adjusting tightness or adding subtle variations such as side parts or soft framing sections. Understanding the concept of evenly distributing hair tension is key to achieving a stable and comfortable result.
To create a simple low bun, begin by detangling the hair thoroughly using a wide-tooth comb. Gather all hair at the back of the head near the neckline and secure it with a hair tie to form a low ponytail. Twist the ponytail gently while maintaining even tension, then wrap it around its base in a circular motion. Use bobby pins to secure the bun in place, ensuring that the ends are tucked neatly. Adjust the shape by smoothing any loose strands with your hands or a brush. For added hold, lightly mist the hair with water or apply a small amount of leave-in conditioner. This step-by-step method ensures that the hairstyle remains intact throughout the day. The process requires minimal materials and can be completed within minutes, making it a reliable option for daily use. Practicing the wrapping technique improves consistency and helps achieve a balanced, symmetrical bun.
Idea 2: Loose Braided Ponytail
Step-by-Step Guide
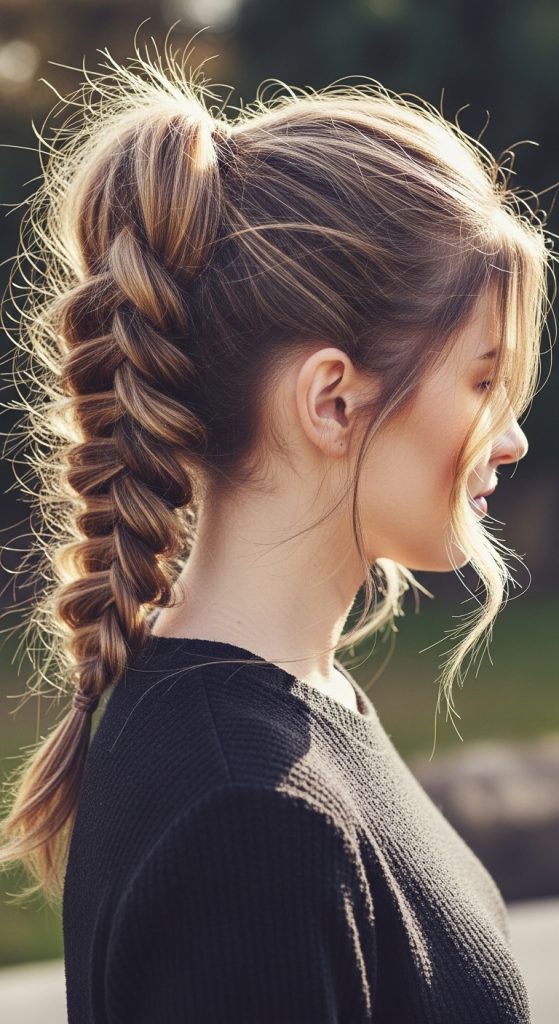
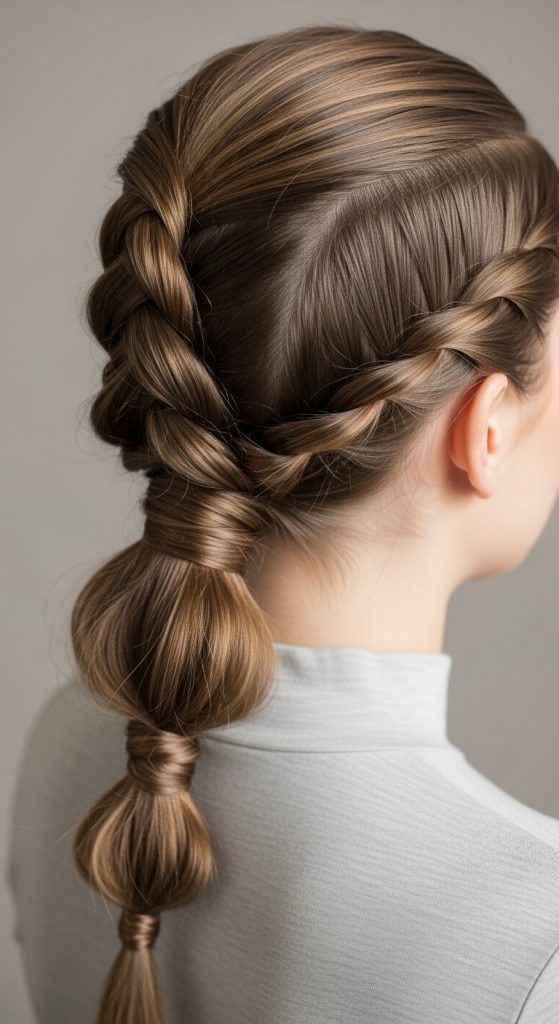
A loose braided ponytail combines the structure of a braid with the relaxed feel of a ponytail, creating a balanced and adaptable hairstyle. This design emphasizes natural texture while maintaining control, making it a popular choice among trending ideas. The braid adds visual detail without requiring complex techniques, which makes it suitable for beginners. This style also aligns with aesthetic preferences that favor soft and natural finishes. It works well for medium to long hair lengths and can be adjusted in tightness depending on the desired look. The loose braided ponytail is often used as a daily hairstyle because it keeps hair organized while allowing some movement. It also integrates well into creative project routines where efficiency and practicality are essential. Understanding how to maintain even sections during braiding ensures a consistent and clean result. This hairstyle is particularly useful for those seeking DIY solutions that are both functional and visually appealing.
To create this hairstyle, start by brushing the hair to remove tangles and gather it into a mid-level ponytail. Secure the ponytail with a hair tie, ensuring it is firm but not overly tight. Divide the ponytail into three equal sections and begin a standard braid by crossing the outer sections over the middle one alternately. Continue braiding until you reach the ends, then secure with another hair tie. Gently pull on the edges of the braid to loosen it slightly, creating a fuller and more relaxed appearance. This technique enhances volume and texture without additional materials. Ensure that the braid remains balanced by adjusting each section evenly. The final result is a structured yet soft hairstyle that can be completed quickly. Practicing the braiding motion improves speed and accuracy, making this an efficient option for everyday styling.
Idea 3: Half-Up Twisted Style
How to Make
The half-up twisted style is a practical hairstyle that combines loose hair with secured sections, creating a balanced and organized appearance. This design allows part of the hair to remain free while controlling the upper section, making it suitable for various occasions. It aligns with modern design preferences by offering a clean yet natural look. The twisting technique adds subtle detail without requiring advanced skills, making it beginner friendly. This hairstyle is often chosen for its ability to maintain structure while showcasing natural texture. It also works well with different hair lengths and densities. The half-up style is particularly useful for individuals who want to keep hair away from the face while still maintaining volume. It fits well within DIY tutorials focused on simplicity and efficiency. Understanding how to divide sections evenly is essential for achieving a symmetrical and balanced result.
To create this style, begin by sectioning the top portion of the hair from temple to temple. Divide this section into two equal parts. Twist each section individually by rotating the hair inward, then bring both twists toward the back of the head. Secure them together using a hair tie or clip. Ensure that the twists are evenly tightened to maintain consistency. Adjust the remaining loose hair by smoothing it with a brush or fingers. Optional preparation includes lightly dampening the hair to improve control during twisting. This step-by-step process ensures that the hairstyle remains secure and visually balanced. The method requires minimal materials and can be completed quickly, making it ideal for daily use. Practicing the twisting motion helps improve precision and consistency over time.

Idea 4: Natural Puff Style
Execution Process
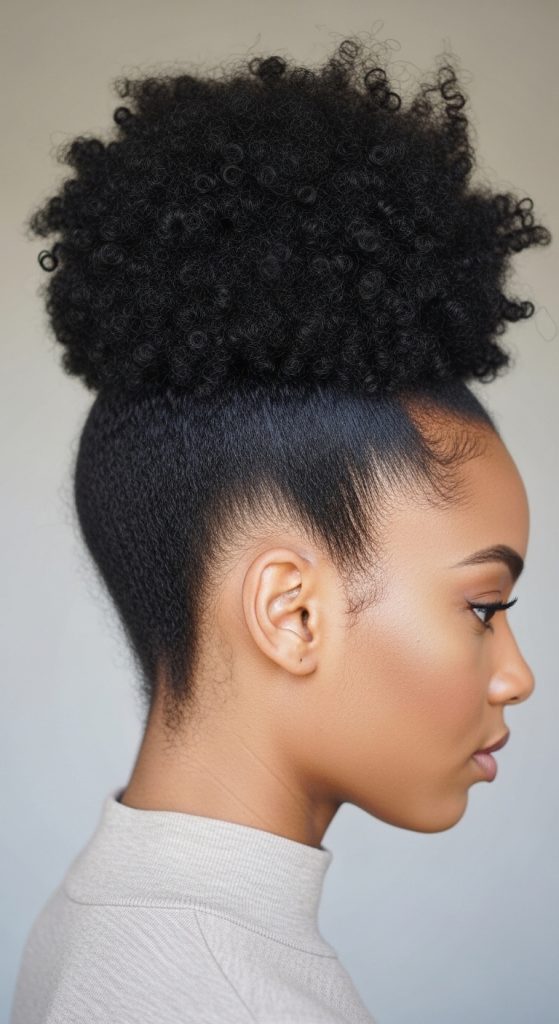
The natural puff style is a simple and structured hairstyle that gathers hair at the crown, creating a rounded and elevated shape. This design highlights natural texture while maintaining control and organization. It is widely used in Pinterest inspiration due to its bold yet minimal appearance. The puff style is suitable for individuals who want a quick and effective way to manage their hair without extensive styling. It supports beginner friendly routines by requiring minimal steps and materials. The shape of the puff can be adjusted to suit personal preferences, making it a versatile option. This hairstyle also aligns with modern design principles that emphasize volume and structure. Understanding how to evenly gather hair ensures a balanced and symmetrical result. The natural puff is particularly useful for daily wear, offering both practicality and visual appeal.
To create this style, begin by detangling the hair and lightly dampening it if needed. Gather all hair toward the top of the head using a brush or hands. Secure it with a hair tie or elastic band, ensuring that the hair is evenly distributed. Adjust the puff by gently pulling sections outward to create a rounded shape. Use bobby pins to secure any loose areas if necessary. Optional materials include a headband to enhance stability. This step-by-step method ensures that the puff remains secure throughout the day. The process is quick and requires minimal effort, making it an efficient option for beginners. Practicing the gathering technique helps improve control and consistency.
Idea 5: Two-Strand Twist Style
How to Create
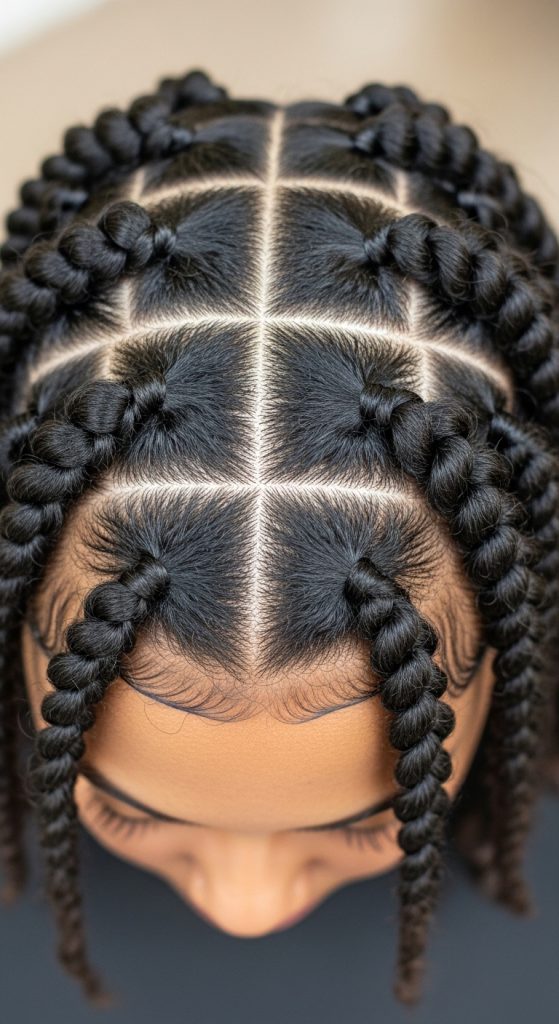
The two-strand twist style is a structured method that involves twisting two sections of hair together to create defined strands. This hairstyle emphasizes natural texture while providing a controlled and organized appearance. It is commonly featured in Pinterest ideas due to its versatility and simplicity. The twists can be worn as a complete hairstyle or used as a base for other styles. This method is beginner friendly because it requires only basic coordination and minimal tools. The design also supports long-term hair management by reducing tangling and breakage. It aligns with DIY tutorials that focus on practical and repeatable techniques. Understanding how to maintain even tension during twisting is essential for achieving consistent results. This hairstyle is suitable for various hair types and lengths, making it widely accessible.
To create two-strand twists, start by dividing the hair into small, even sections. Take one section and split it into two equal parts. Twist each part individually, then wrap them around each other in the opposite direction. Continue this process until the entire section is twisted, then secure the ends if necessary. Repeat for all sections of the hair. Optional preparation includes applying a small amount of leave-in conditioner for smoothness. This step-by-step method ensures that the twists remain defined and secure. The process requires patience but becomes easier with practice. The result is a neat and organized hairstyle that can last for several days.
Idea 6: Simple Headband Style
Setup Method
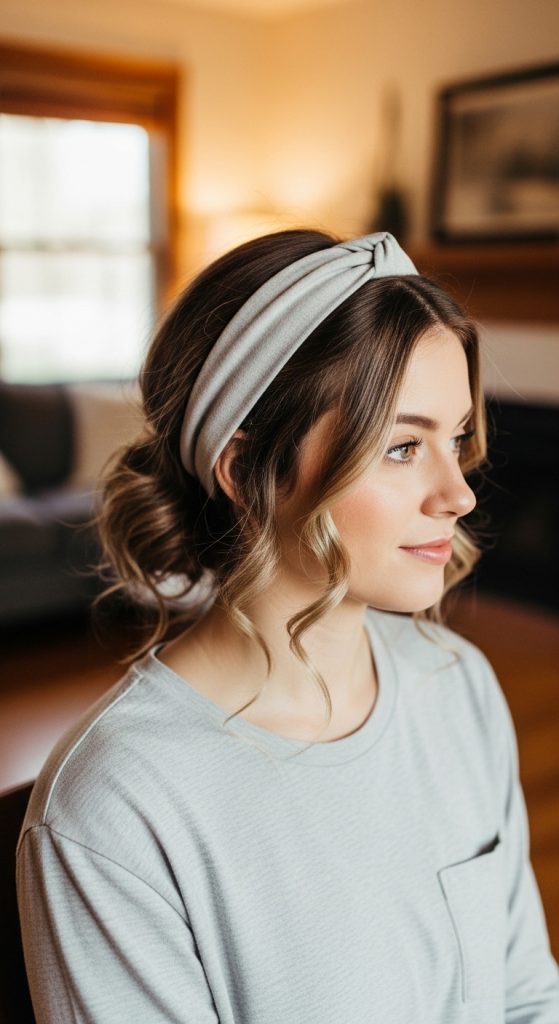
The simple headband style is a practical hairstyle that uses an accessory to hold hair in place while maintaining a natural look. This design is popular among beginner friendly creative ideas because it requires minimal effort and materials. The headband helps control the front sections of the hair, creating a clean and organized appearance. This style is suitable for various hair textures and lengths, making it widely accessible. It aligns with minimalist style preferences by focusing on simplicity and structure. The headband also adds a subtle decorative element without overwhelming the overall design. Understanding how to position the headband correctly ensures comfort and stability. This hairstyle is often used for daily routines due to its efficiency and ease of execution.
To create this style, begin by brushing the hair to remove tangles. Place the headband over the head, positioning it slightly behind the hairline. Adjust the hair around the headband to ensure even distribution. Tuck any loose strands behind the band or secure them with bobby pins if needed. Optional preparation includes lightly dampening the hair for better control. This step-by-step process ensures that the hairstyle remains secure and comfortable. The method requires minimal time and effort, making it ideal for quick styling. Practicing placement techniques helps improve consistency and balance.
Idea 7: Side Part Natural Waves
How to Make
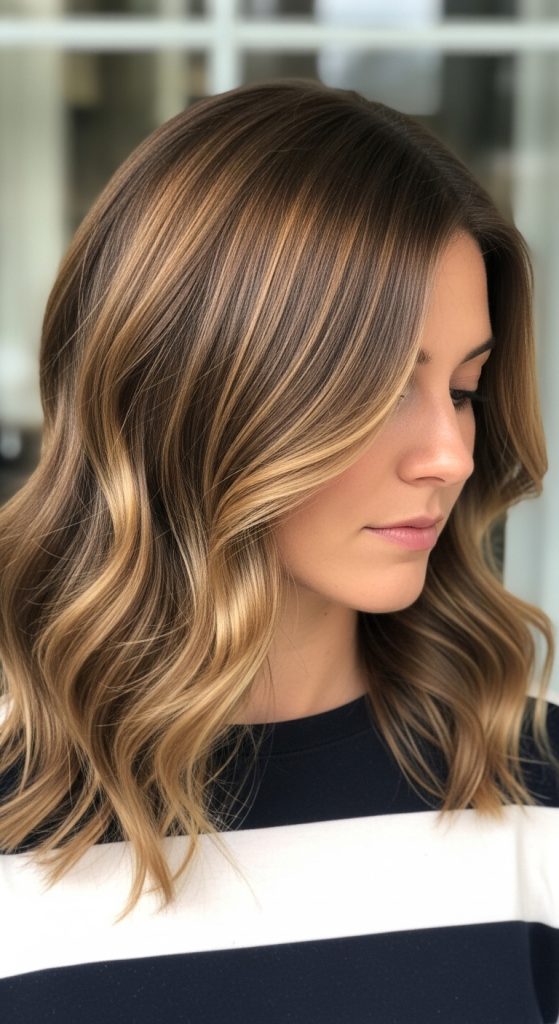
Side part natural waves focus on enhancing the hair’s natural pattern while creating a structured and balanced appearance. This hairstyle is commonly featured in Pinterest inspiration because it highlights texture without requiring complex styling techniques. The side part adds definition and direction, making the overall look more organized. This style is suitable for individuals who prefer low-maintenance routines while still achieving a polished result. It aligns with modern design trends that emphasize natural beauty and simplicity. Understanding how to create a clean part is essential for achieving symmetry and balance. This hairstyle is particularly useful for daily wear and casual settings.
To create this style, begin by detangling the hair and identifying the desired side part. Use a comb to create a clean line from the front to the crown. Allow the hair to fall naturally on both sides of the part. Enhance the waves by lightly scrunching the hair with your hands. Optional preparation includes using a spray bottle to dampen the hair slightly. This step-by-step method ensures that the waves remain defined and natural. The process is simple and requires minimal tools, making it accessible for beginners. Practicing the parting technique improves precision and consistency.
Idea 8: Low Twisted Ponytail
Execution Process
The low twisted ponytail combines a classic ponytail with twisting techniques to create a structured and visually appealing hairstyle. This design is popular among DIY tutorials because it adds detail without increasing complexity. The twists provide texture and depth, making the hairstyle more dynamic. It aligns with modern design preferences that favor subtle enhancements over elaborate styling. This hairstyle is suitable for various occasions and can be completed quickly. Understanding how to create even twists is essential for achieving a balanced result. The low twisted ponytail is particularly useful for those seeking efficient and practical styling methods.
To create this style, begin by dividing the front sections of the hair into two parts. Twist each section inward and bring them toward the back of the head. Gather the remaining hair along with the twists into a low ponytail and secure it with a hair tie. Adjust the twists to ensure even tension and symmetry. Optional materials include bobby pins for additional support. This step-by-step method ensures that the hairstyle remains secure and organized. The process is quick and beginner friendly, making it ideal for daily use.
Idea 9: Messy Top Knot
How to Create
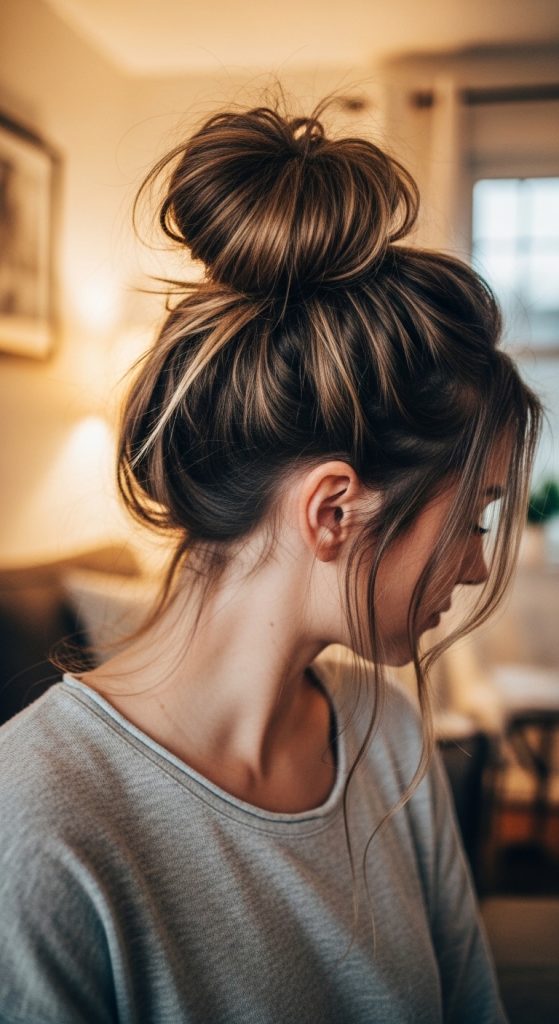
The messy top knot is a relaxed hairstyle that gathers hair at the crown into a loose bun. This design emphasizes texture and volume while maintaining a casual appearance. It is widely featured in Pinterest ideas due to its simplicity and adaptability. The messy top knot is suitable for quick styling and requires minimal preparation. It aligns with aesthetic trends that favor natural and effortless looks. Understanding how to balance looseness and structure is key to achieving a controlled result. This hairstyle is particularly useful for busy routines and informal settings.
To create this style, begin by gathering all hair at the top of the head. Secure it into a high ponytail using a hair tie. Twist the ponytail loosely and wrap it around its base to form a bun. Secure with bobby pins, allowing some strands to remain loose for a relaxed effect. Adjust the shape by gently pulling sections outward. Optional preparation includes lightly dampening the hair for better control. This step-by-step method ensures that the hairstyle remains stable while maintaining its casual appearance.
Idea 10: Braided Crown Style
Step-by-Step Guide
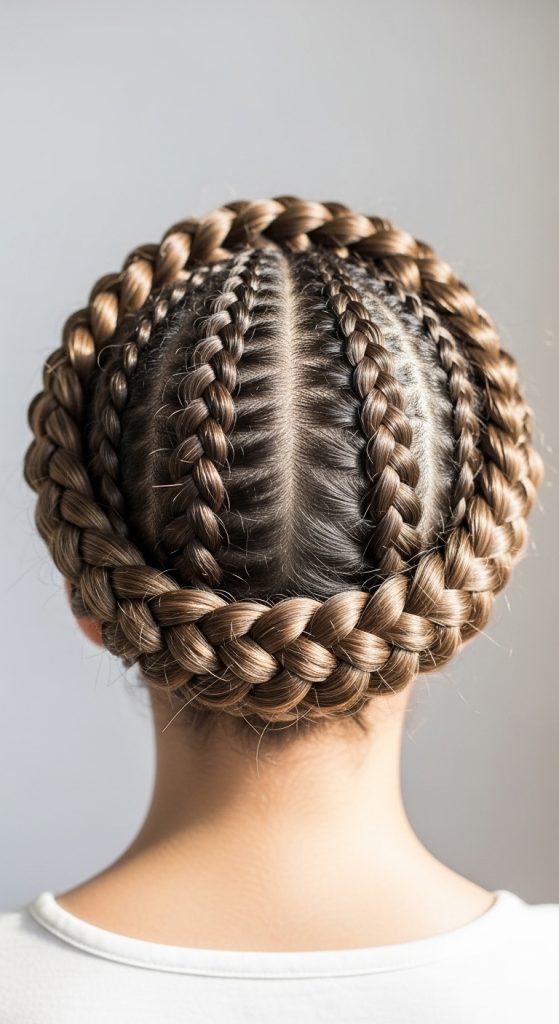
The braided crown style is a structured hairstyle that wraps braids around the head to create a circular design. This style is commonly used in Pinterest inspiration due to its elegant and organized appearance. It combines braiding techniques with strategic placement to achieve a balanced look. This hairstyle is suitable for special occasions and can also be adapted for daily wear. It aligns with creative project ideas that focus on detailed yet achievable designs. Understanding how to position the braids evenly is essential for symmetry. The braided crown is particularly useful for those seeking a more intricate yet beginner friendly style.
To create this style, begin by parting the hair down the middle. Create two braids on each side of the head using a standard three-strand technique. Bring each braid across the top of the head and secure it with bobby pins. Ensure that the braids are positioned evenly to form a crown shape. Adjust any loose strands for a clean finish. Optional preparation includes detangling the hair thoroughly before braiding. This step-by-step method ensures a secure and balanced hairstyle. Practicing braid placement improves accuracy and consistency.
Common Beginner Mistakes and How to Avoid Them
Many beginners face challenges when creating natural hairstyles due to lack of preparation and technique. One common mistake is skipping the detangling process, which leads to uneven styling and potential breakage. Always use a comb or brush to ensure smooth sections before starting. Another issue is applying uneven tension, which can result in unbalanced hairstyles. Practicing consistent hand movement helps improve control. Using too many products can also weigh down the hair and reduce natural texture. It is important to apply minimal and appropriate amounts. Poor sectioning often leads to asymmetry, so dividing hair carefully is essential. Additionally, rushing through steps can affect the final result. Taking time to follow each step ensures better outcomes. Understanding these common errors and correcting them improves both efficiency and overall styling quality.
Practical Tips for Better Results
Achieving consistent results with natural hairstyles requires attention to detail and proper technique. Always start with clean and well-prepared hair to ensure smooth execution. Using a mirror setup that provides multiple angles helps improve accuracy. Practicing each hairstyle regularly builds confidence and skill. Keeping tools organized reduces interruptions during the process. Applying light moisture can improve manageability and control. Maintaining even section sizes ensures balanced results. It is also helpful to adapt styles based on hair length and texture for better outcomes. Following these practical tips enhances both efficiency and final appearance.
Styling, Presentation, or Organization Ideas
Presenting natural hairstyles effectively involves maintaining a clean and organized structure. Ensure that all sections are evenly aligned and free from unnecessary tangles. Adding simple accessories such as clips or bands can enhance the overall look without overwhelming the design. Keeping the hairstyle balanced from all angles improves visual appeal. Organizing tools and materials in advance helps maintain a smooth workflow. This approach aligns with modern aesthetic standards that prioritize simplicity and clarity. Proper presentation ensures that each hairstyle appears polished and intentional.
Budget or Time Planning
Natural hairstyles are cost-effective because they require minimal materials and tools. Most styles can be completed using basic items such as combs, hair ties, and pins. Planning ahead helps reduce styling time and improves efficiency. Beginners should allocate extra time for practice until they become familiar with each technique. Creating a routine for regular styling can help streamline the process. These budget ideas make natural hairstyles accessible to a wide range of users. Efficient planning ensures consistent and reliable results.
Creative Expansion and Advanced Inspiration
Once basic techniques are mastered, natural hairstyles can be expanded into more advanced designs. Combining multiple styles, such as braids and twists, creates unique variations. Experimenting with different parting patterns adds visual interest. Incorporating layered styles enhances depth and structure. These creative ideas allow users to personalize their hairstyles while maintaining practical methods. Advanced inspiration encourages continuous learning and skill development, making natural hairstyling a versatile and evolving creative project.