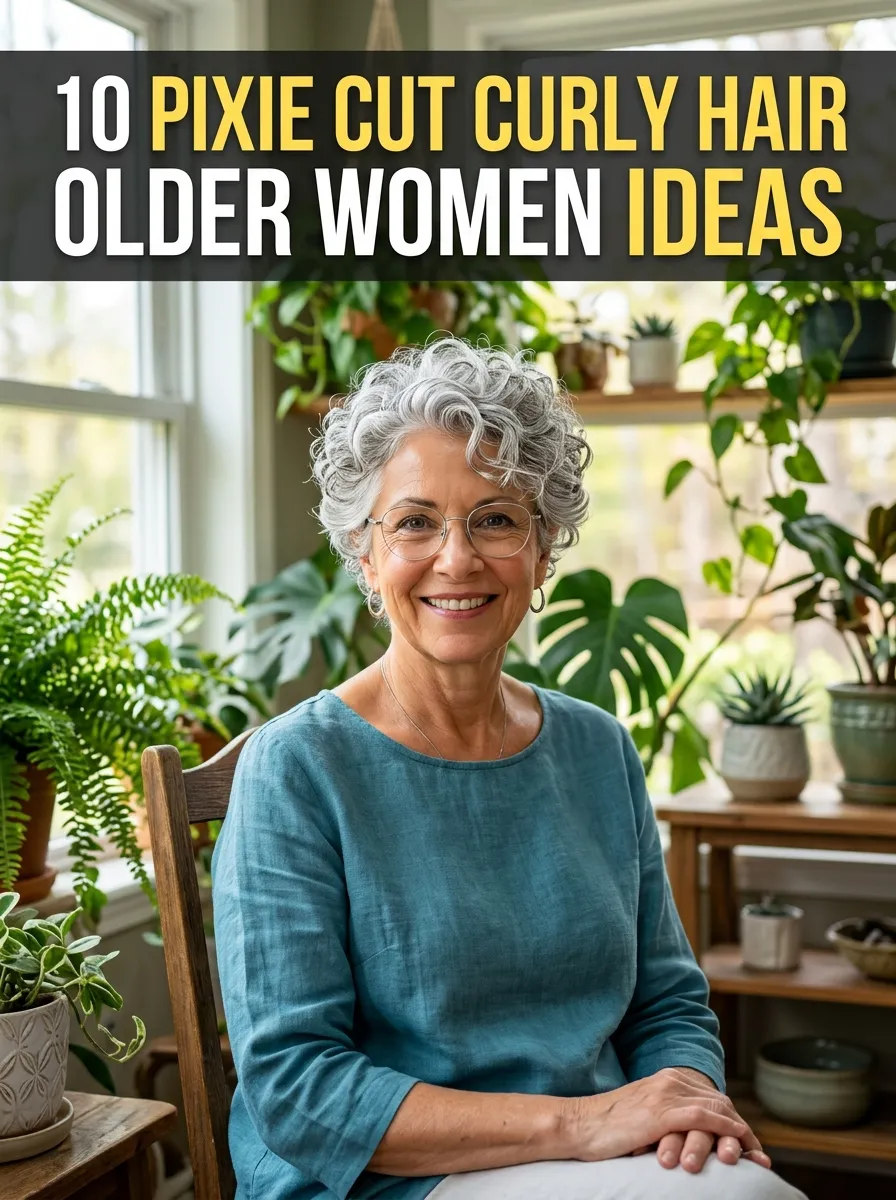
10 Pixie Cut Curly Hair Older Women Ideas

Introduction
Pixie cuts for curly hair are a practical and modern hairstyle option for older women who want a manageable yet stylish look. This haircut combines short length with layered structure, allowing natural curls to create volume and movement without requiring complex styling. On Pinterest, this style appears frequently in trending ideas because it supports both ease of maintenance and a polished aesthetic. The pixie cut reduces bulk while enhancing the natural texture of curls, making it suitable for different hair densities and curl patterns.
This article provides a complete guide to pixie cut variations designed specifically for older women with curly hair. Readers will learn how different layering techniques, length adjustments, and shaping methods influence the final result. Each idea includes a clear explanation and a step by step process to ensure the style is achievable and consistent. The focus remains on practical and beginner friendly execution, making these creative ideas accessible and realistic. These styles are adaptable to individual preferences while maintaining a structured and balanced design.
Why This Idea Is Trending or Useful
Pixie cuts for curly hair are trending ideas because they offer a combination of practicality and modern design. Older women often seek hairstyles that are easy to maintain while still providing a refined appearance. The pixie cut addresses this need by reducing styling time and simplifying daily care routines. The layered structure enhances curl definition, which improves the overall look without requiring heavy styling products.
Another reason for the popularity of this hairstyle is its adaptability. It can be customized to suit different face shapes, curl types, and personal preferences. This flexibility allows individuals to create a style that fits their needs while maintaining the core structure of the pixie cut. The design aligns with Pinterest inspiration trends that focus on natural texture and effortless styling.
The DIY appeal also contributes to its usefulness. Basic maintenance such as trimming and styling can be managed with simple tools, making it a beginner friendly option. The combination of efficiency, adaptability, and aesthetic value makes this hairstyle widely practical.
Materials and Preparation
Preparing for a pixie cut for curly hair requires basic tools and structured planning. Essential materials include sharp hair-cutting scissors, a wide-tooth comb, sectioning clips, and a mirror setup for visibility. Thinning scissors can be used carefully to refine layers, but they should not disrupt the natural curl pattern. Curly hair is best cut dry or slightly damp to maintain its true shape during the process.
Preparation begins with detangling the hair gently to avoid breakage. The hair should be divided into sections to ensure even cutting. Identifying the desired length and layering pattern is essential before starting. This planning step helps maintain balance and prevents uneven results.
Proper lighting is important for accuracy, as it allows clear visibility of curl patterns and layer transitions. Keeping tools organized supports a smooth workflow. Following a step by step preparation process ensures that the pixie cut remains structured and manageable. Proper preparation leads to a balanced and visually cohesive hairstyle.
Idea 1: Classic Curly Pixie Cut

How to Create
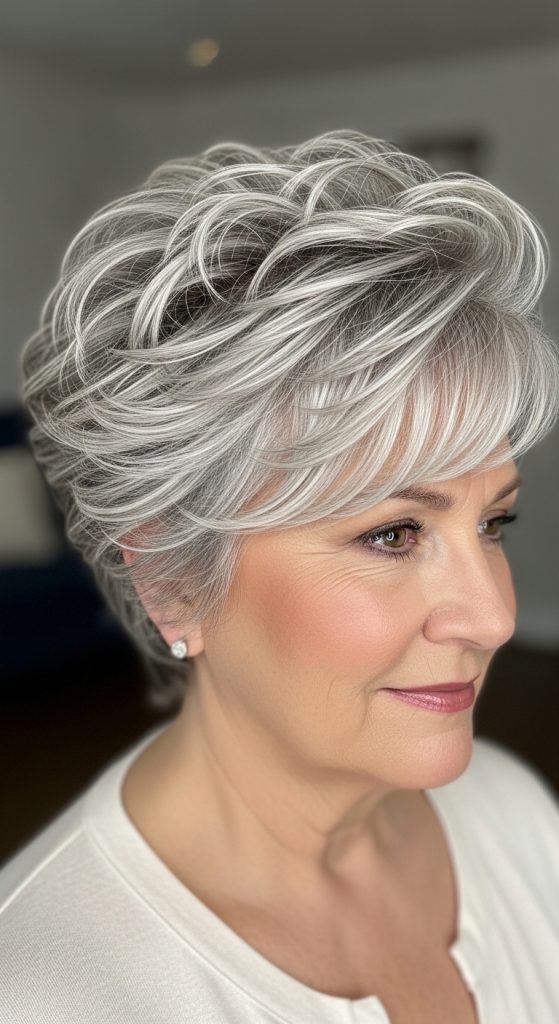
The classic curly pixie cut focuses on creating a balanced and structured shape that enhances natural curls. This design maintains short length throughout while incorporating soft layers to reduce bulk and improve movement. The curls are allowed to form naturally, creating a rounded silhouette that frames the face. This style is widely used in Pinterest ideas because it provides a clean and adaptable foundation for different variations.
The design emphasizes proportion and simplicity. The layers are distributed evenly to avoid heavy sections and ensure consistent volume. This approach supports both aesthetic and functional goals by improving curl definition while maintaining a manageable structure. The classic version is suitable for individuals seeking a timeless and practical hairstyle.
To create this style, section the hair evenly and establish the base length. Cut gradually to maintain control and accuracy. Add light layers to enhance movement.
Blend the layers carefully to maintain consistency. Avoid excessive thinning to preserve volume. This step by step method results in a structured and beginner friendly curly pixie cut.
Idea 2: Soft Layered Curly Pixie
Step-by-Step Guide

The soft layered curly pixie focuses on gentle transitions between layers to create a natural and cohesive appearance. This variation reduces harsh lines and allows curls to fall smoothly. The design enhances movement while maintaining a lightweight structure.
This style aligns with modern design trends that emphasize simplicity and natural texture. It is suitable for individuals who prefer a subtle and refined look. The soft layering technique ensures that curls retain their shape while improving overall balance.
To achieve this look, section the hair and begin layering gradually. Use light cutting techniques to create smooth transitions.
Blend each section carefully to maintain consistency. Avoid deep cuts that remove too much volume. This method creates a soft and balanced pixie cut.
Idea 3: Short Volume Curly Pixie
How to Make
This variation focuses on maximizing volume by reducing length and adding layers at the crown. It creates a fuller appearance.

Cut shorter layers at the top and blend downward. Maintain curl definition.
Idea 4: Curly Pixie with Side Bangs
How to Create

This style incorporates side bangs to frame the face and add structure. It enhances overall balance.
Cut bangs at an angle and blend them with the rest of the hair.
Idea 5: Textured Curly Pixie Cut
Execution Process

This design emphasizes texture through varied layering. It enhances movement and definition.
Cut uneven layers and refine with light blending.
Idea 6: Minimalist Curly Pixie
How to Create

This variation focuses on subtle layering and clean lines. It suits a simple aesthetic.
Apply light layers and maintain even length.
Idea 7: Crown Volume Pixie Cut
Step-by-Step Guide

This style focuses on adding height at the crown. It improves shape and balance.
Cut shorter layers at the top and blend downward.
Idea 8: Defined Curl Pixie
How to Make
This design enhances curl definition through precise layering. It creates a polished look.
Cut layers carefully and maintain curl structure.
Idea 9: Wavy Curly Pixie Cut
Setup Method
This variation supports softer curl patterns and waves. It creates movement and depth.

Cut layers to support wave formation and maintain balance.
Idea 10: Messy Natural Curly Pixie
Execution Process

This style embraces natural texture for a relaxed appearance. It enhances volume through irregular layering.
Cut uneven layers and maintain a natural finish.
Common Beginner Mistakes and How to Avoid Them
A common mistake is cutting curls too short without accounting for shrinkage. Curly hair appears shorter when dry, so it is important to adjust length accordingly. Another issue is uneven layering, which disrupts the overall shape. Proper sectioning helps maintain balance.
Over-thinning is another frequent problem. Excessive use of thinning scissors can reduce curl definition and weaken the structure. It is important to use these tools carefully. Skipping preparation often leads to inconsistent results, so planning the layout before cutting is essential.
Using incorrect cutting techniques can also affect the outcome. Cutting small sections gradually helps maintain control and accuracy. Avoiding these mistakes ensures a well-structured pixie cut.
Practical Tips for Better Results
Working with clean and detangled hair improves accuracy. Cutting curls in their natural state helps maintain shape and definition. Maintaining consistent section sizes ensures even layering.
Using lightweight styling methods enhances curls without weighing them down. Regular trims help maintain the structure and prevent uneven growth. These practical tips improve both execution and final appearance.
Styling, Presentation, or Organization Ideas
Arranging curls to frame the face improves visual balance. Keeping the crown slightly lifted enhances volume. Maintaining symmetry ensures a polished appearance.
Simple styling techniques help preserve natural texture. Organized cutting methods support consistent results.
Budget or Time Planning
Using basic tools keeps the process cost-effective. Planning the haircut in advance reduces time and errors.
Dividing the process into sections makes it manageable. Simple styles require less maintenance and time.
Creative Expansion and Advanced Inspiration
Experimenting with different layer depths allows customization. Combining elements such as bangs or varied textures enhances variation.
Gradual adjustments help refine the design over time. Exploring new techniques supports continuous improvement while maintaining structure.